What you need
Use a steel tape, pencil and a labelled worksheet. Use a stable stepladder when necessary and ask someone to hold the far end of the tape on wide openings. Record exact millimetres rather than estimating from an old curtain.
Before measuring
Choose ceiling or wall fit, check cornices and locate a suitable fixing surface. Consider window handles, doors, furniture and where the open curtain will stack. Plan power access for motorisation before finalising the track. Compare fabric samples in the room.
Choose ceiling or wall fit
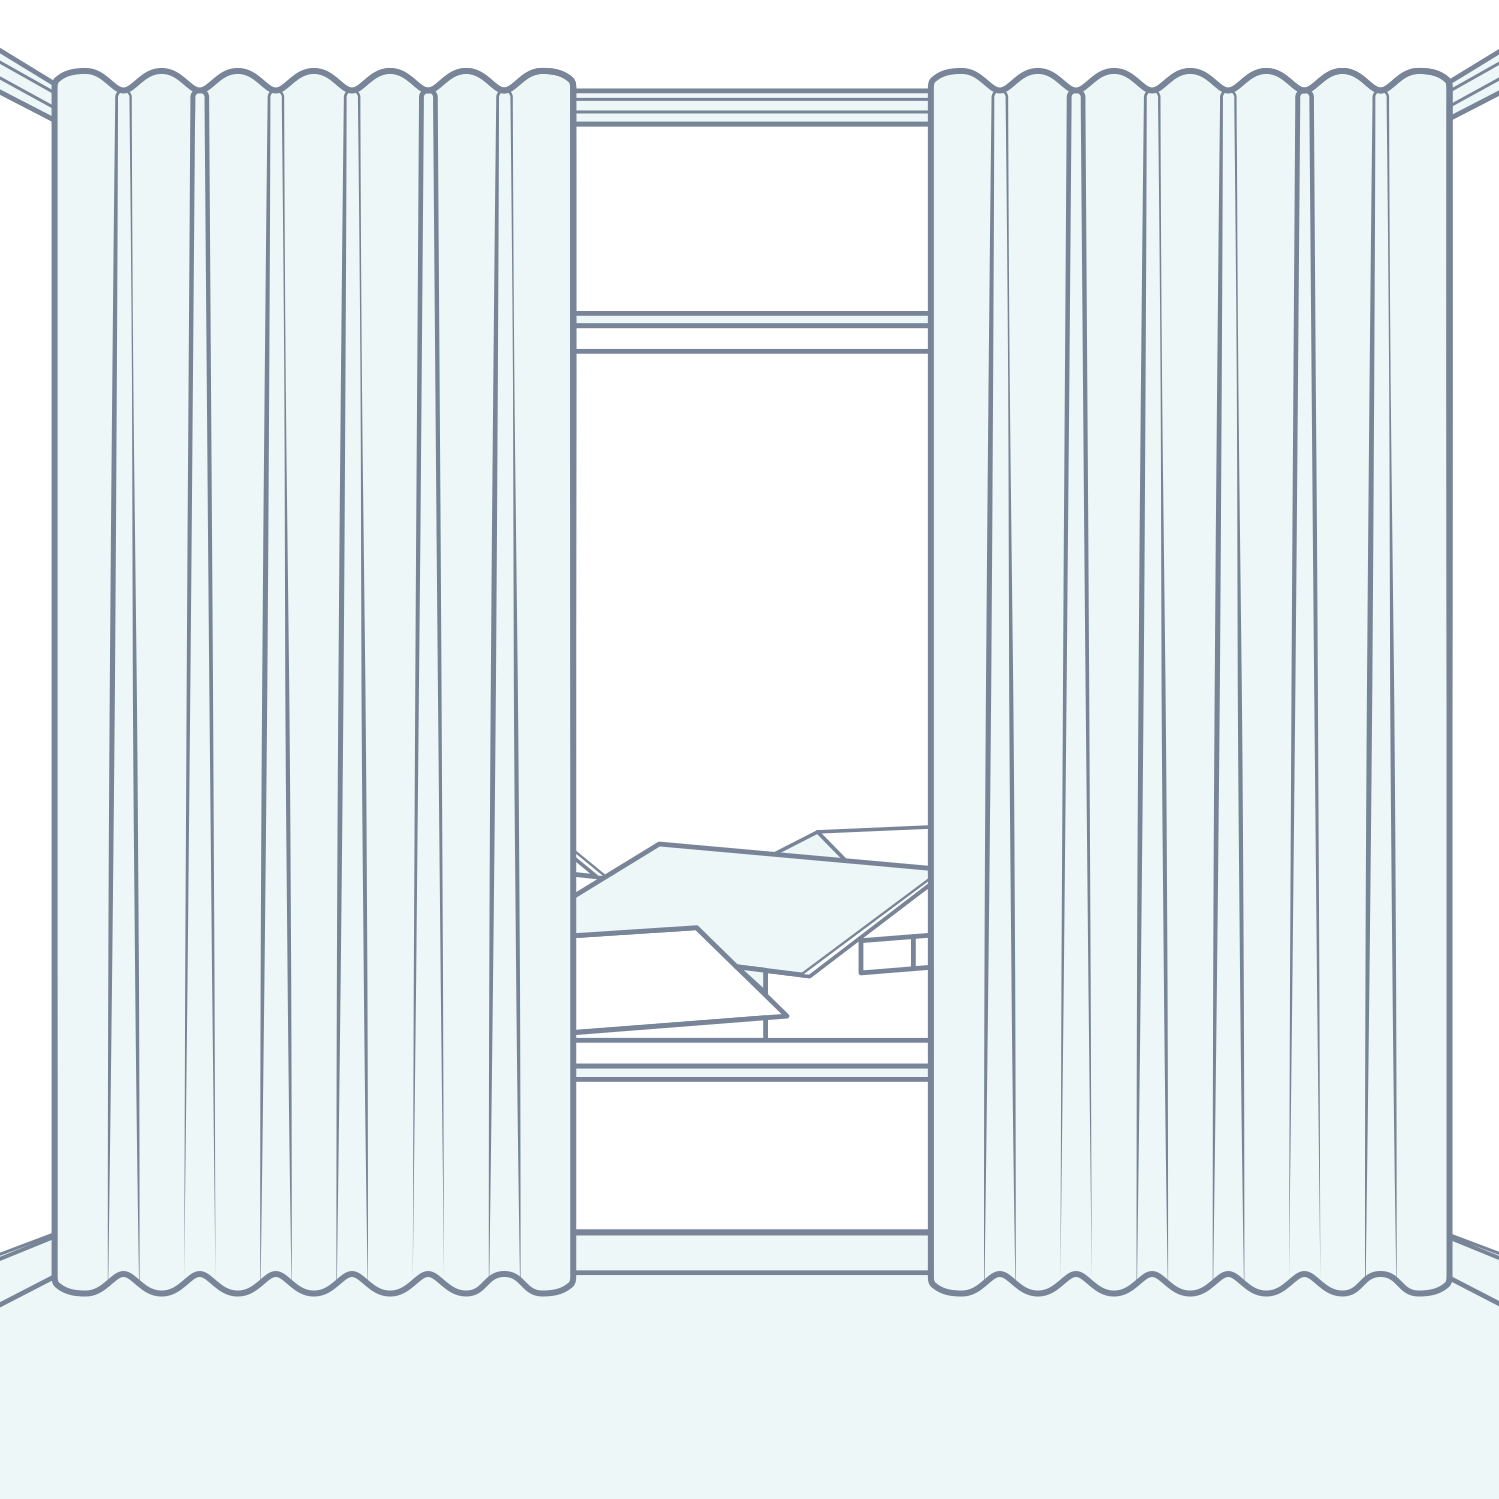
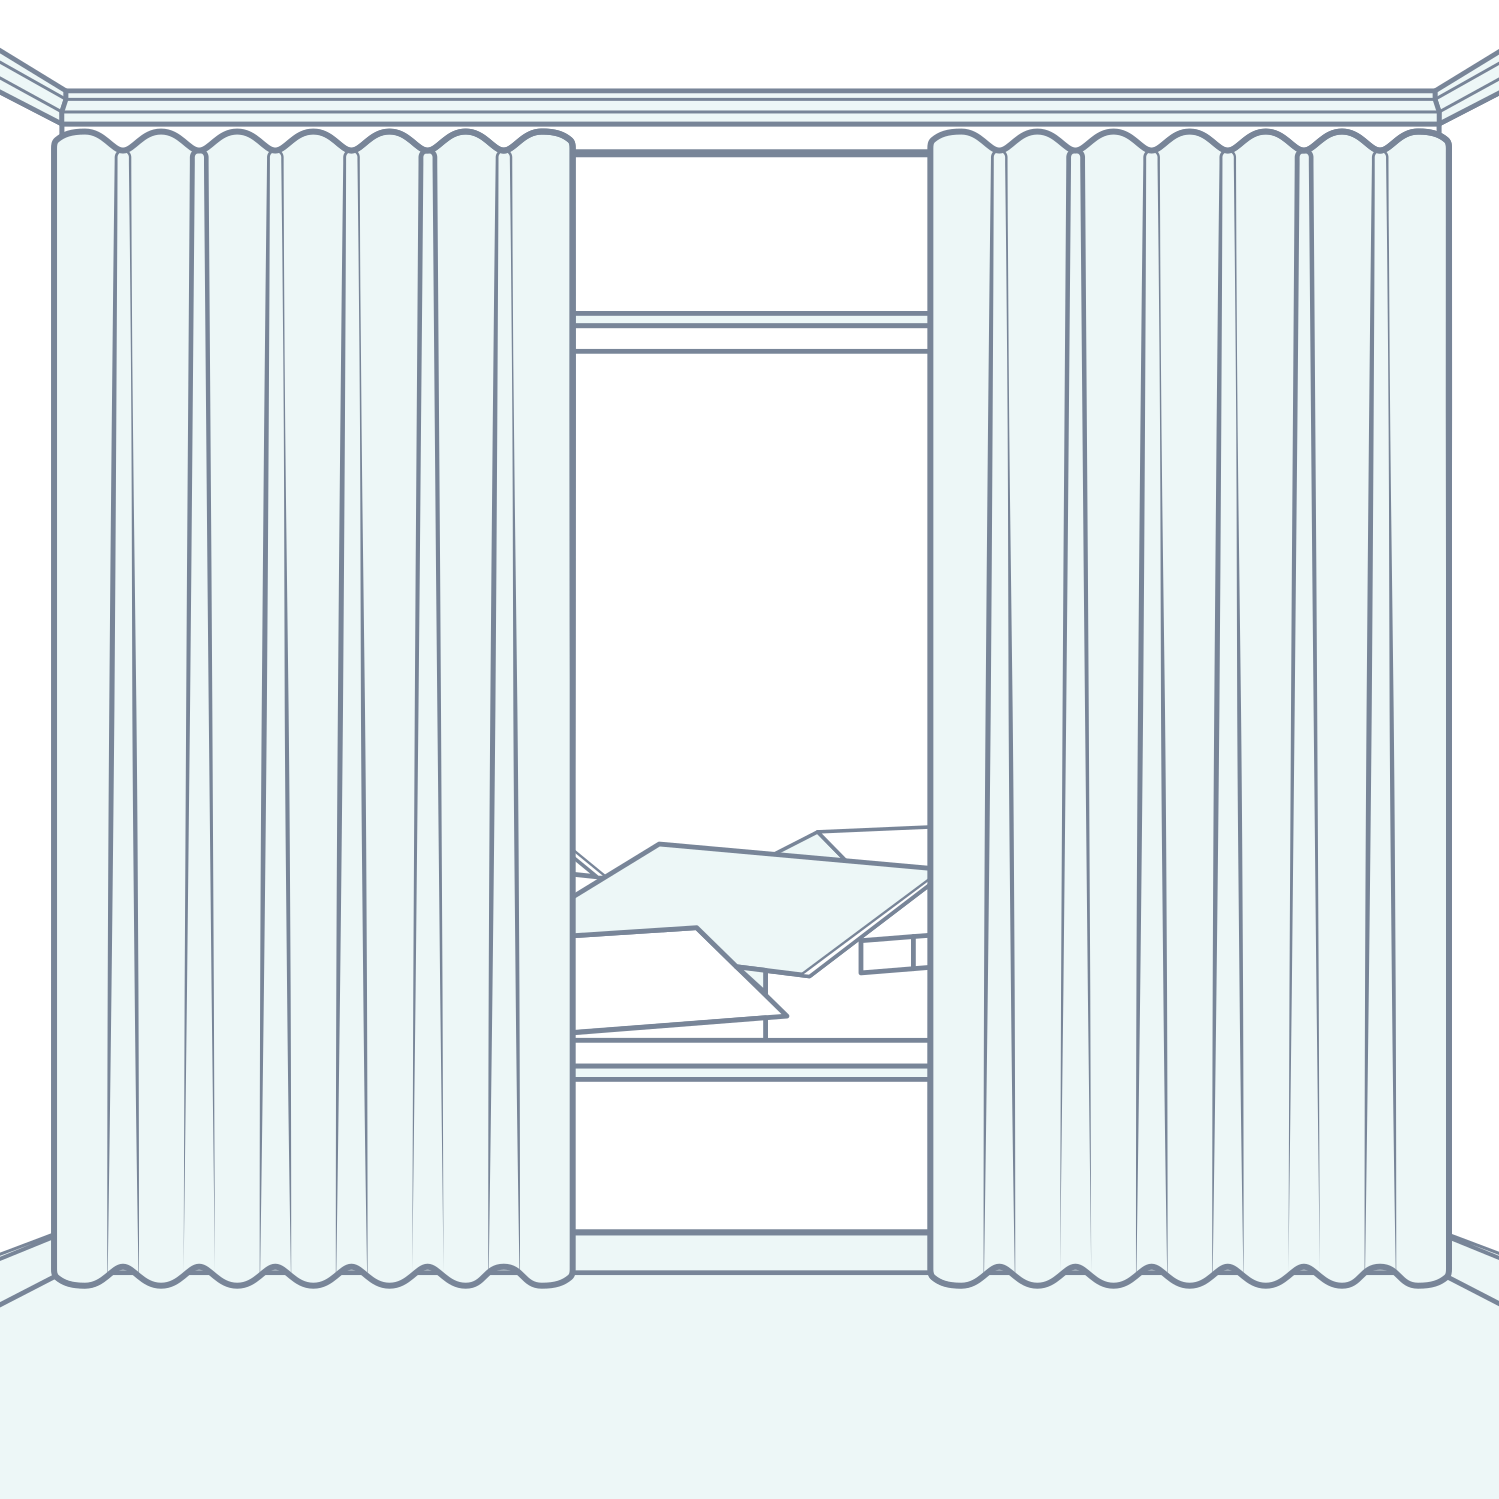
Ceiling fit follows the ceiling or the space within the cornice and can create a full-height finish. Wall fit uses brackets on the wall above the opening. Either needs secure fixings and enough projection for the fabric folds to move freely.
Ceiling fit · 1. Measure width
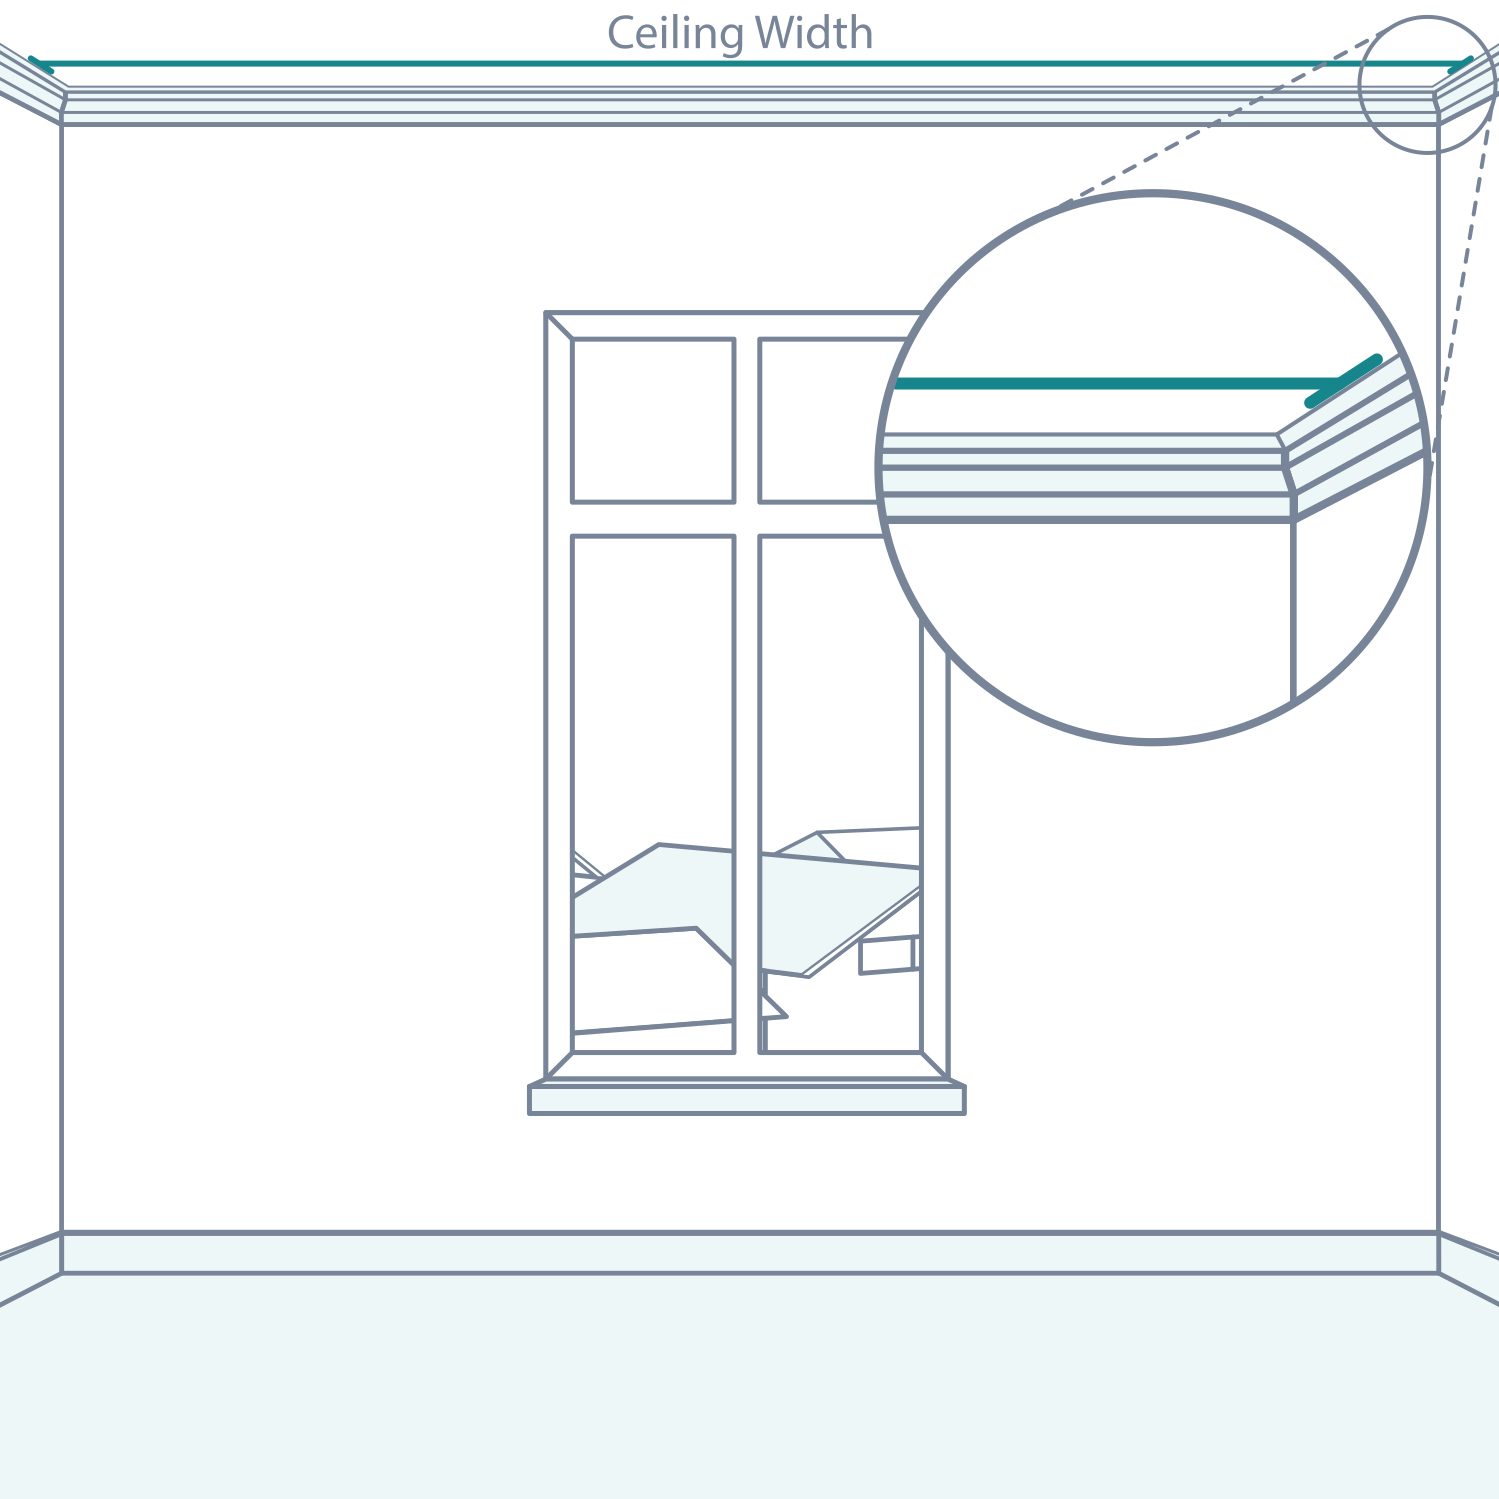
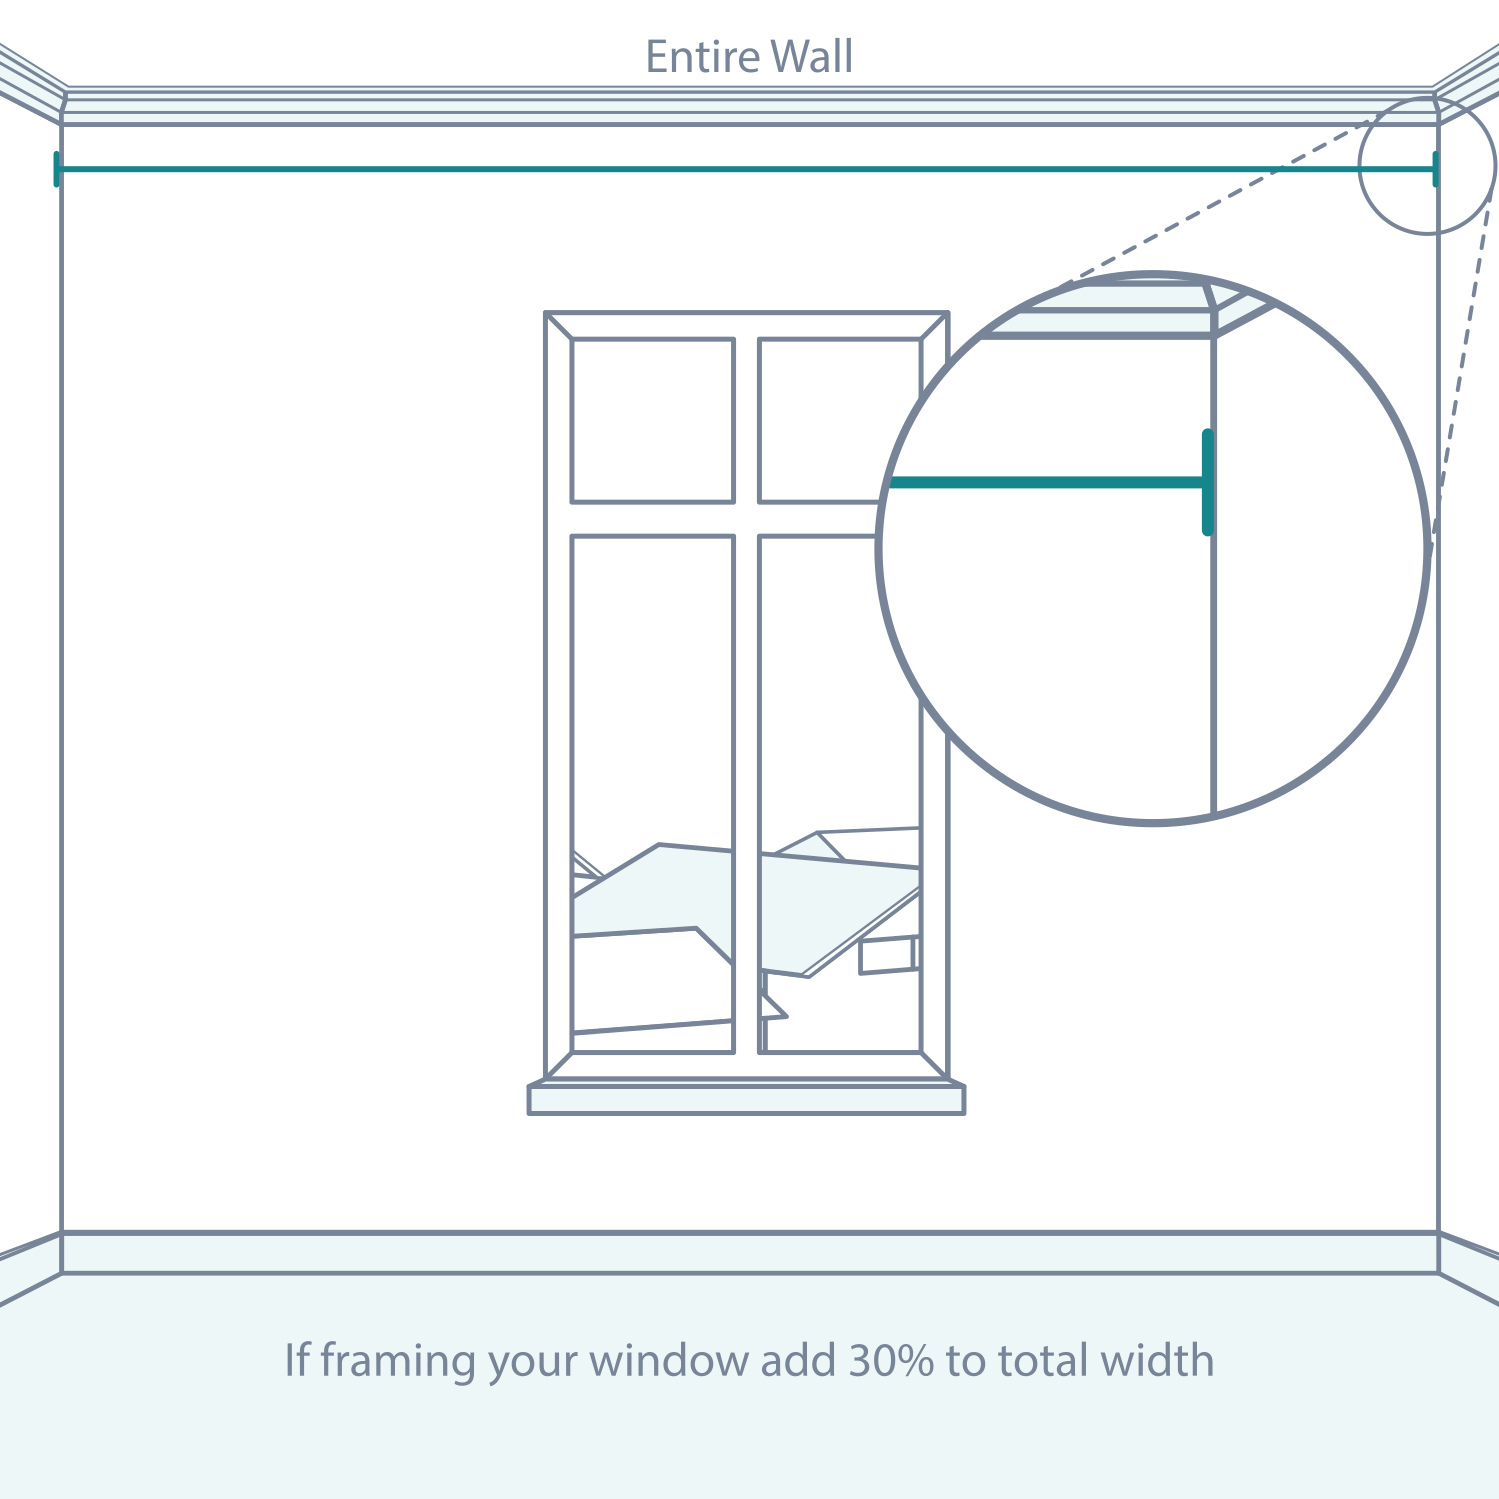
For a wall-to-wall track, measure between the walls or inside edges of the cornices at the intended track position. Record that span as the track width. For a track that frames only the window, plan the extra stack-back space on each side and check for obstacles. Track width is not the amount of fabric.
Ceiling fit · 2. Record optional split points
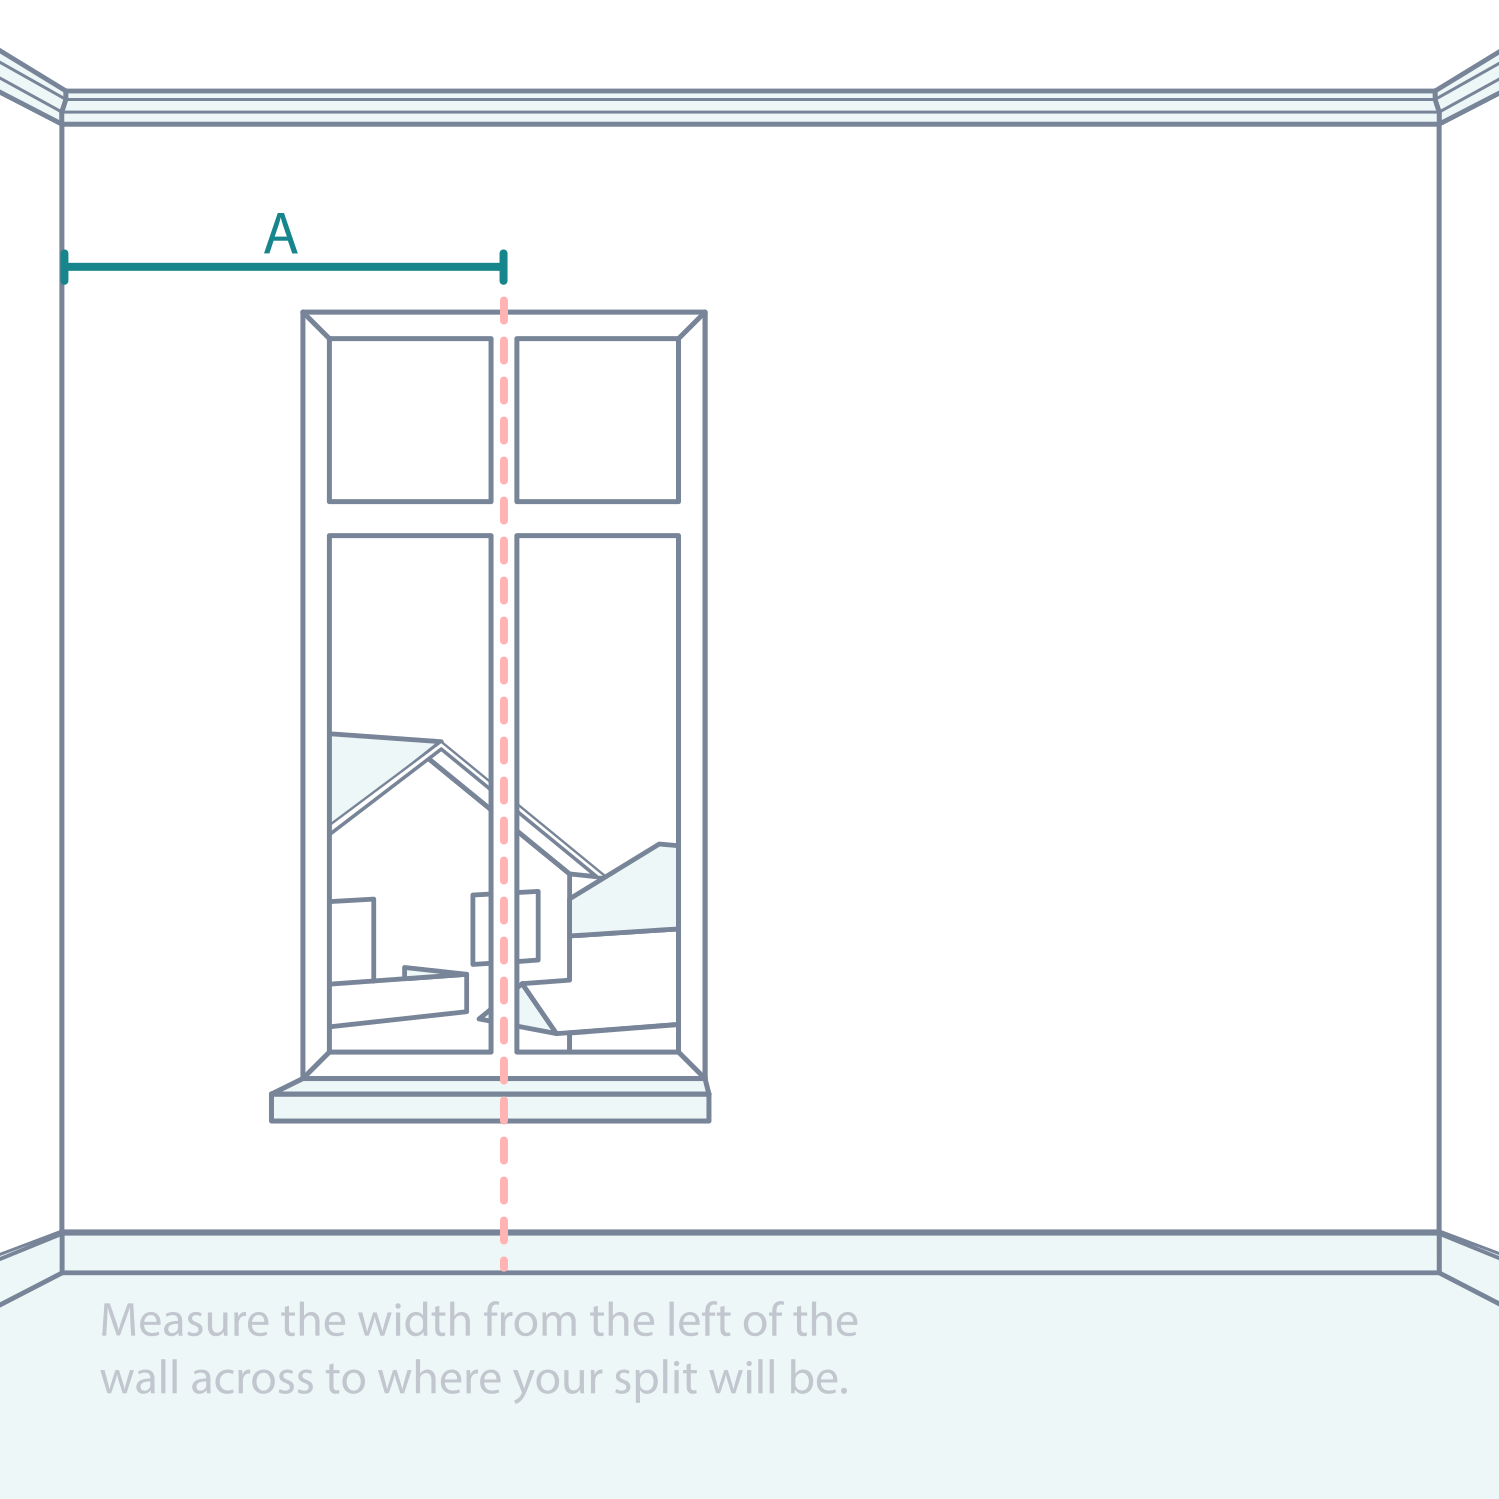
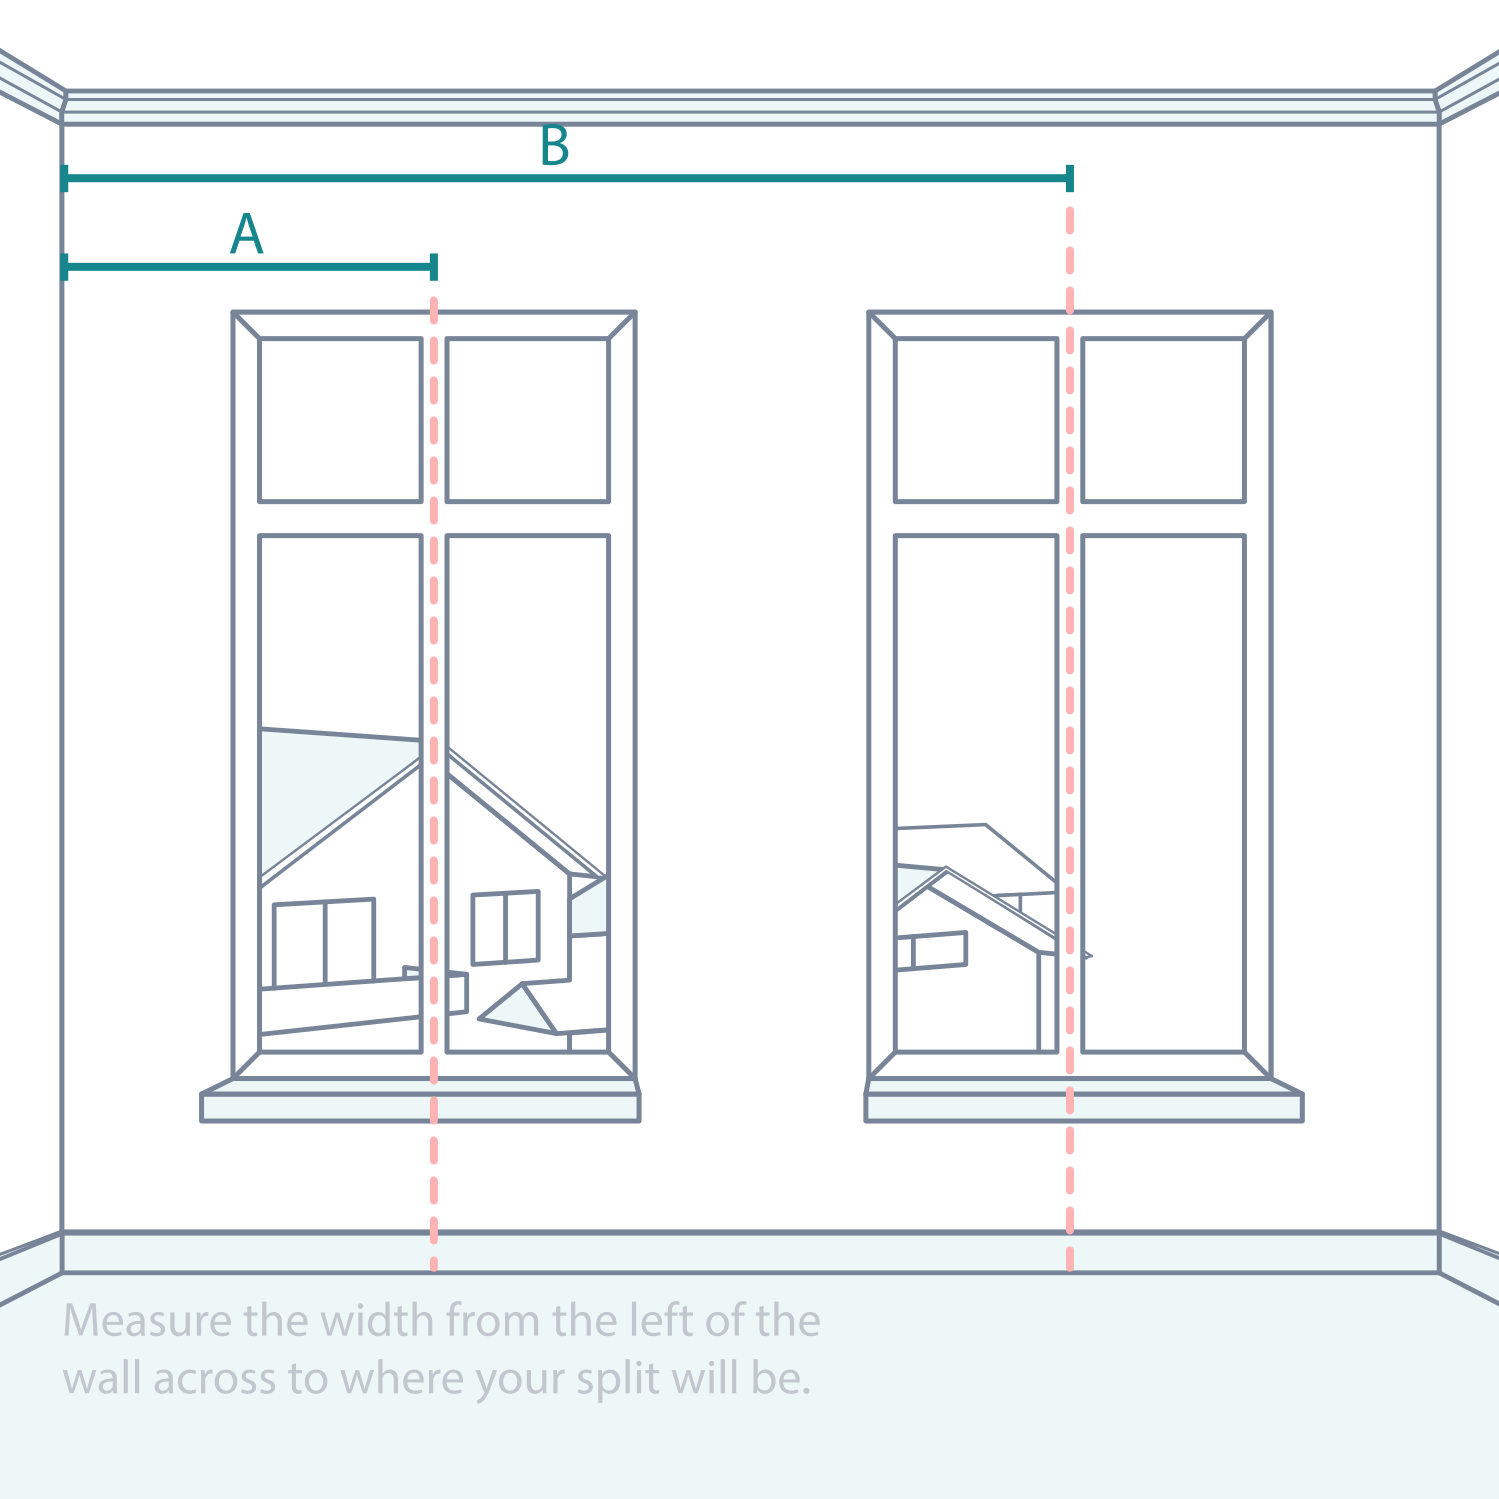
For a custom opening, measure from the left end of the track to each intended split. Record each position from that same left reference, rather than measuring the second split from the first. Mark whether the design has one, two or no splits and check the available operating options.
Ceiling fit · 3. Measure drop
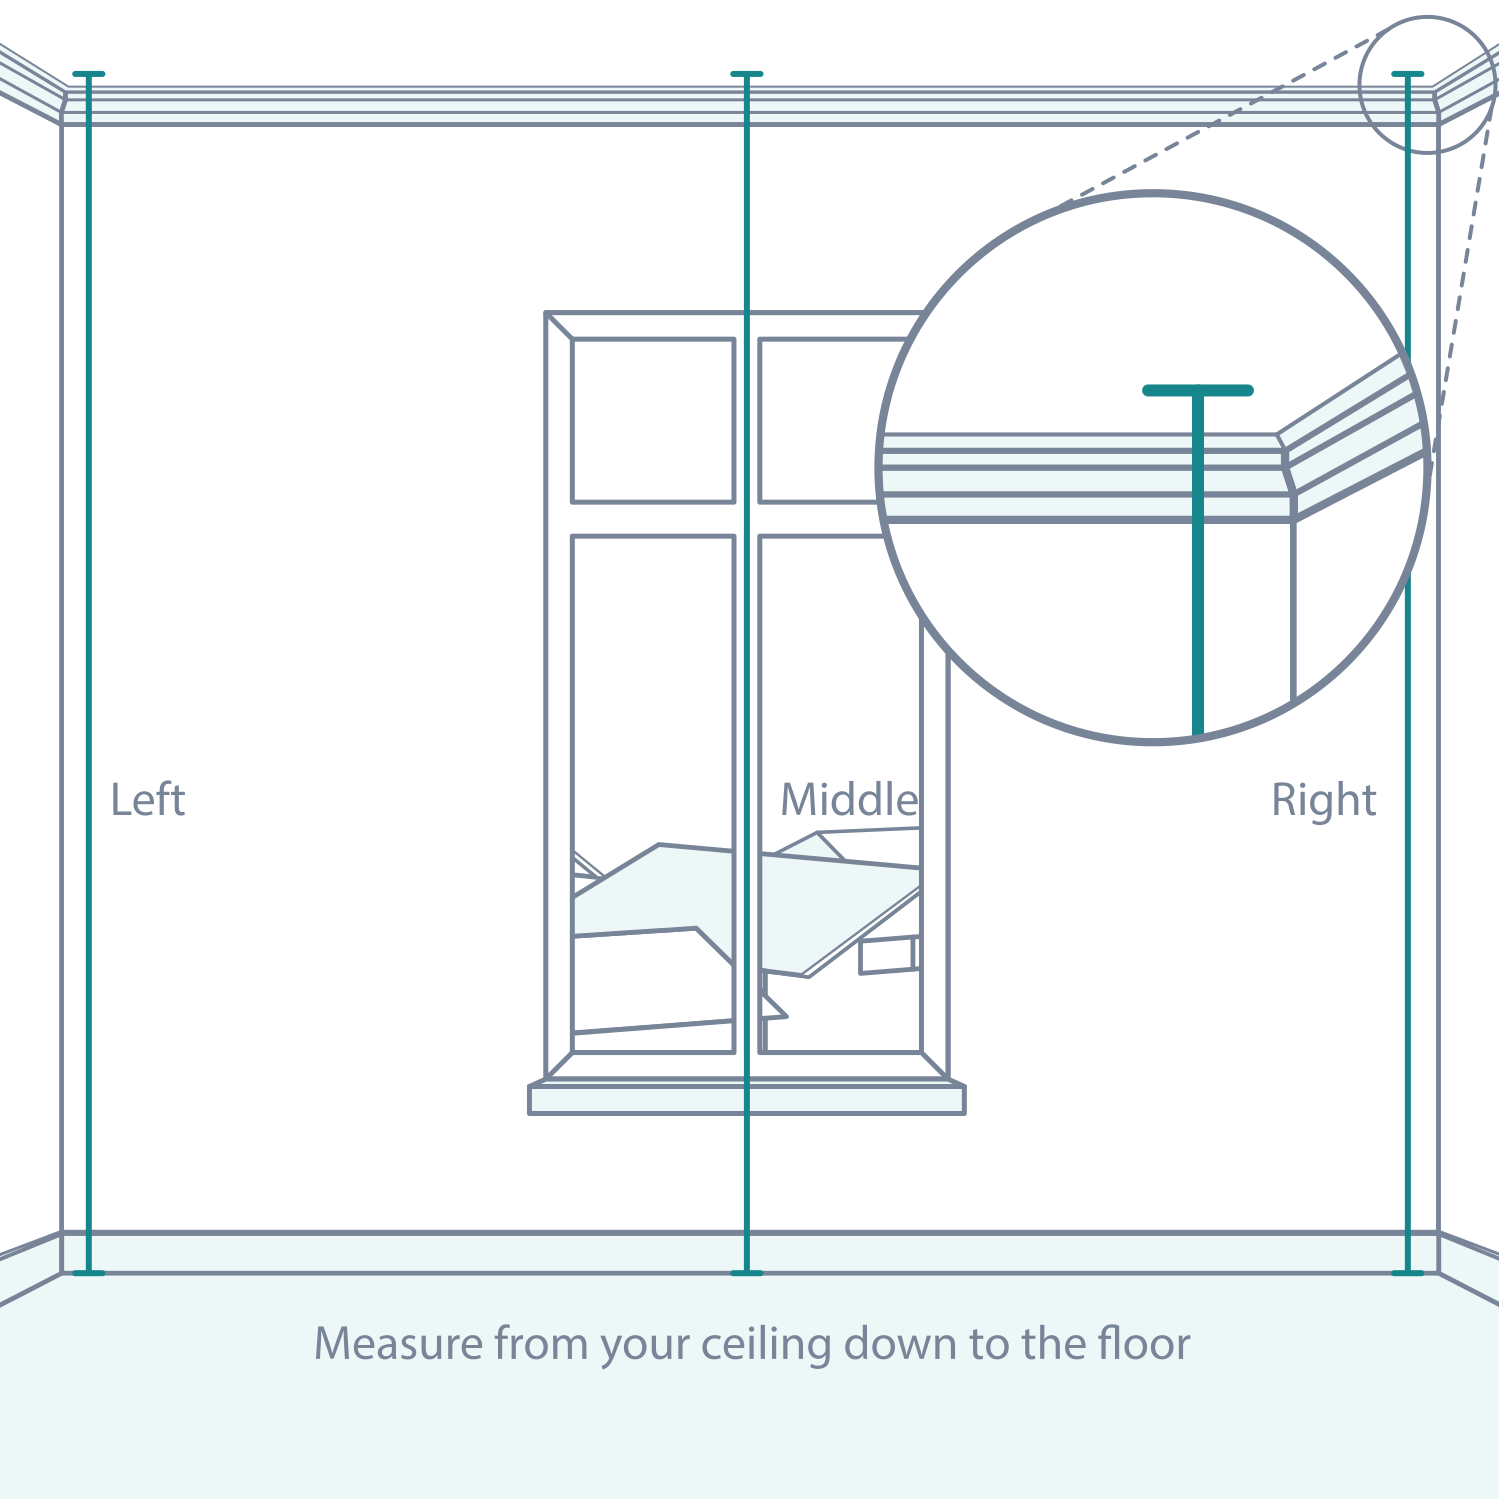
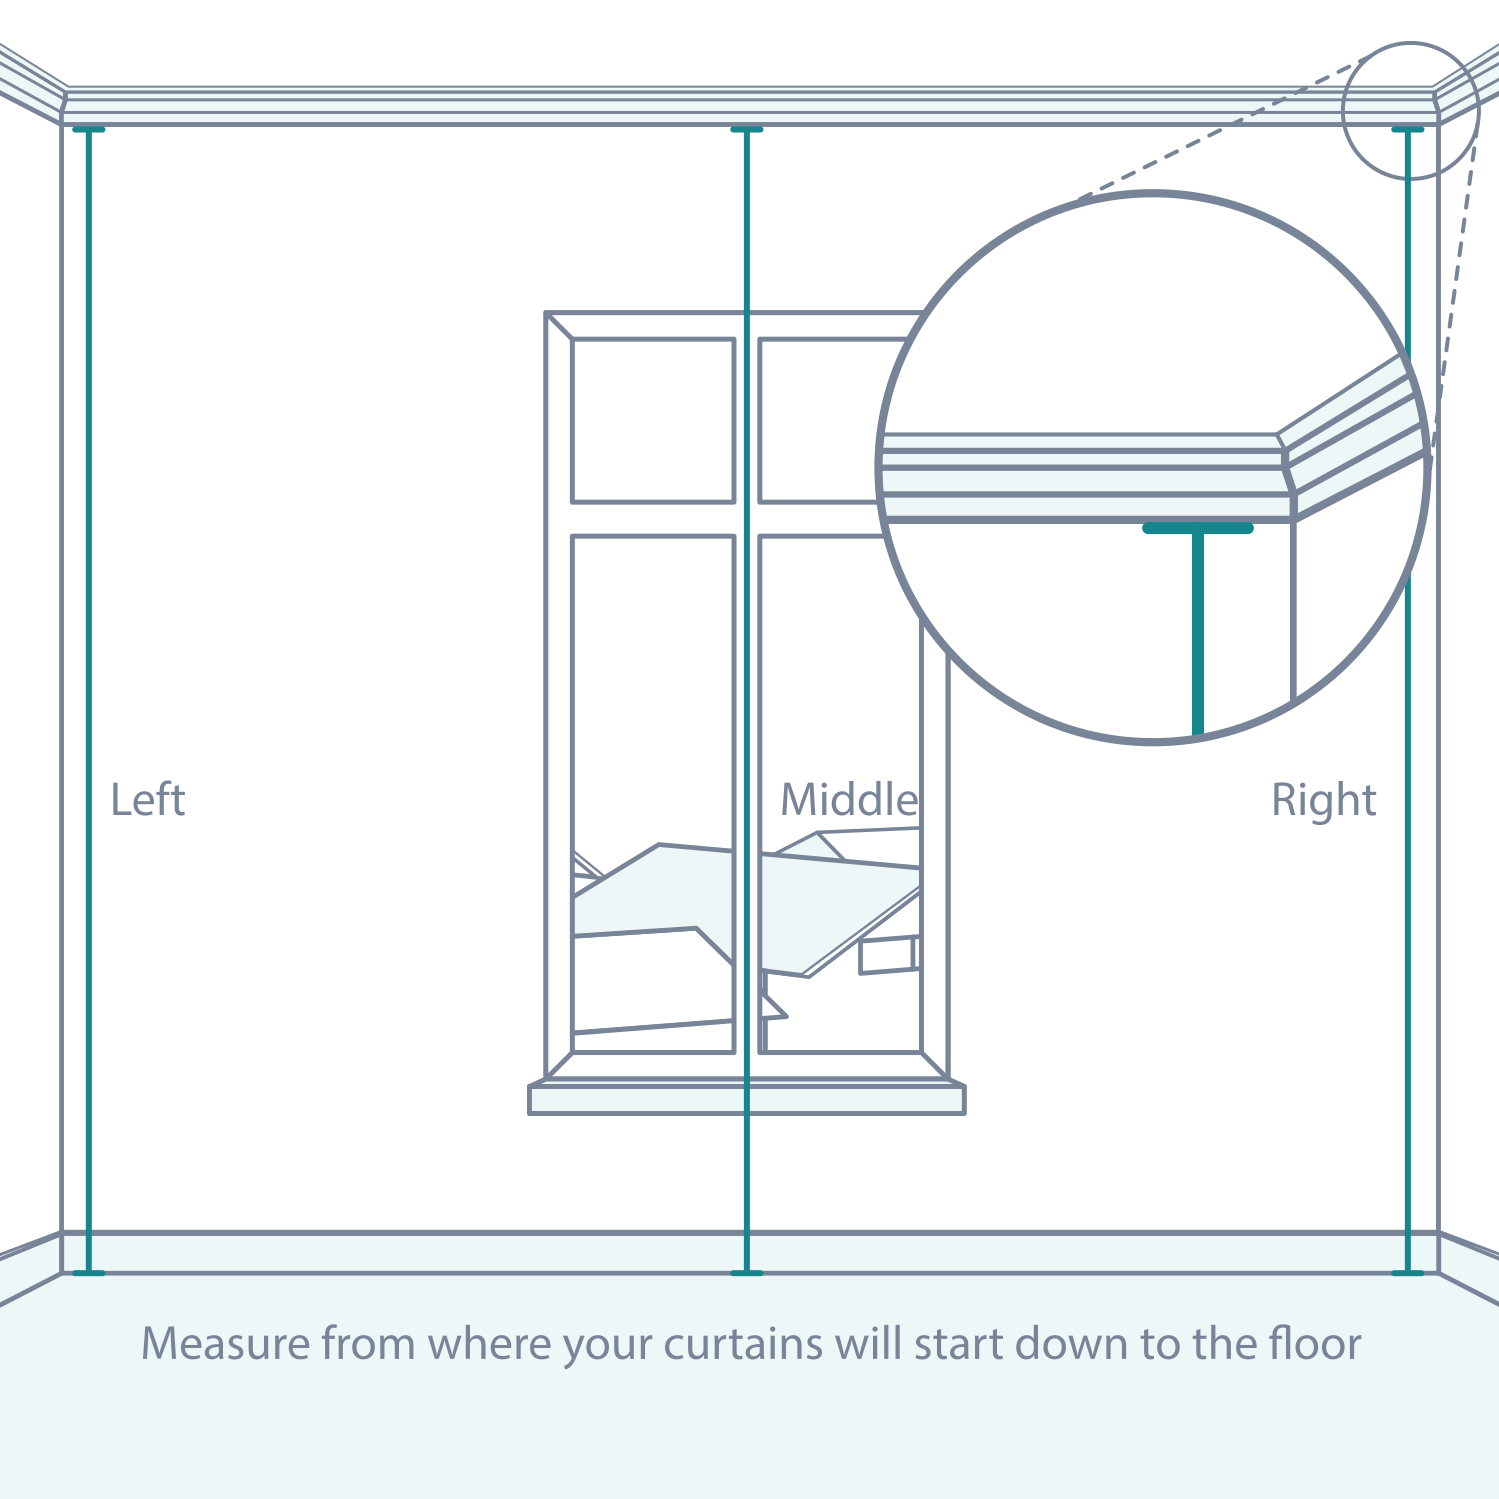
Measure vertically from the planned ceiling fixing surface to the floor at the left, centre and right. Record all three and use the largest reading for the published My Direct curtain method. If the readings differ by more than 10 mm, consider a puddled finish and check the appearance before ordering.
Ceiling fit · 4. Choose the floor finish
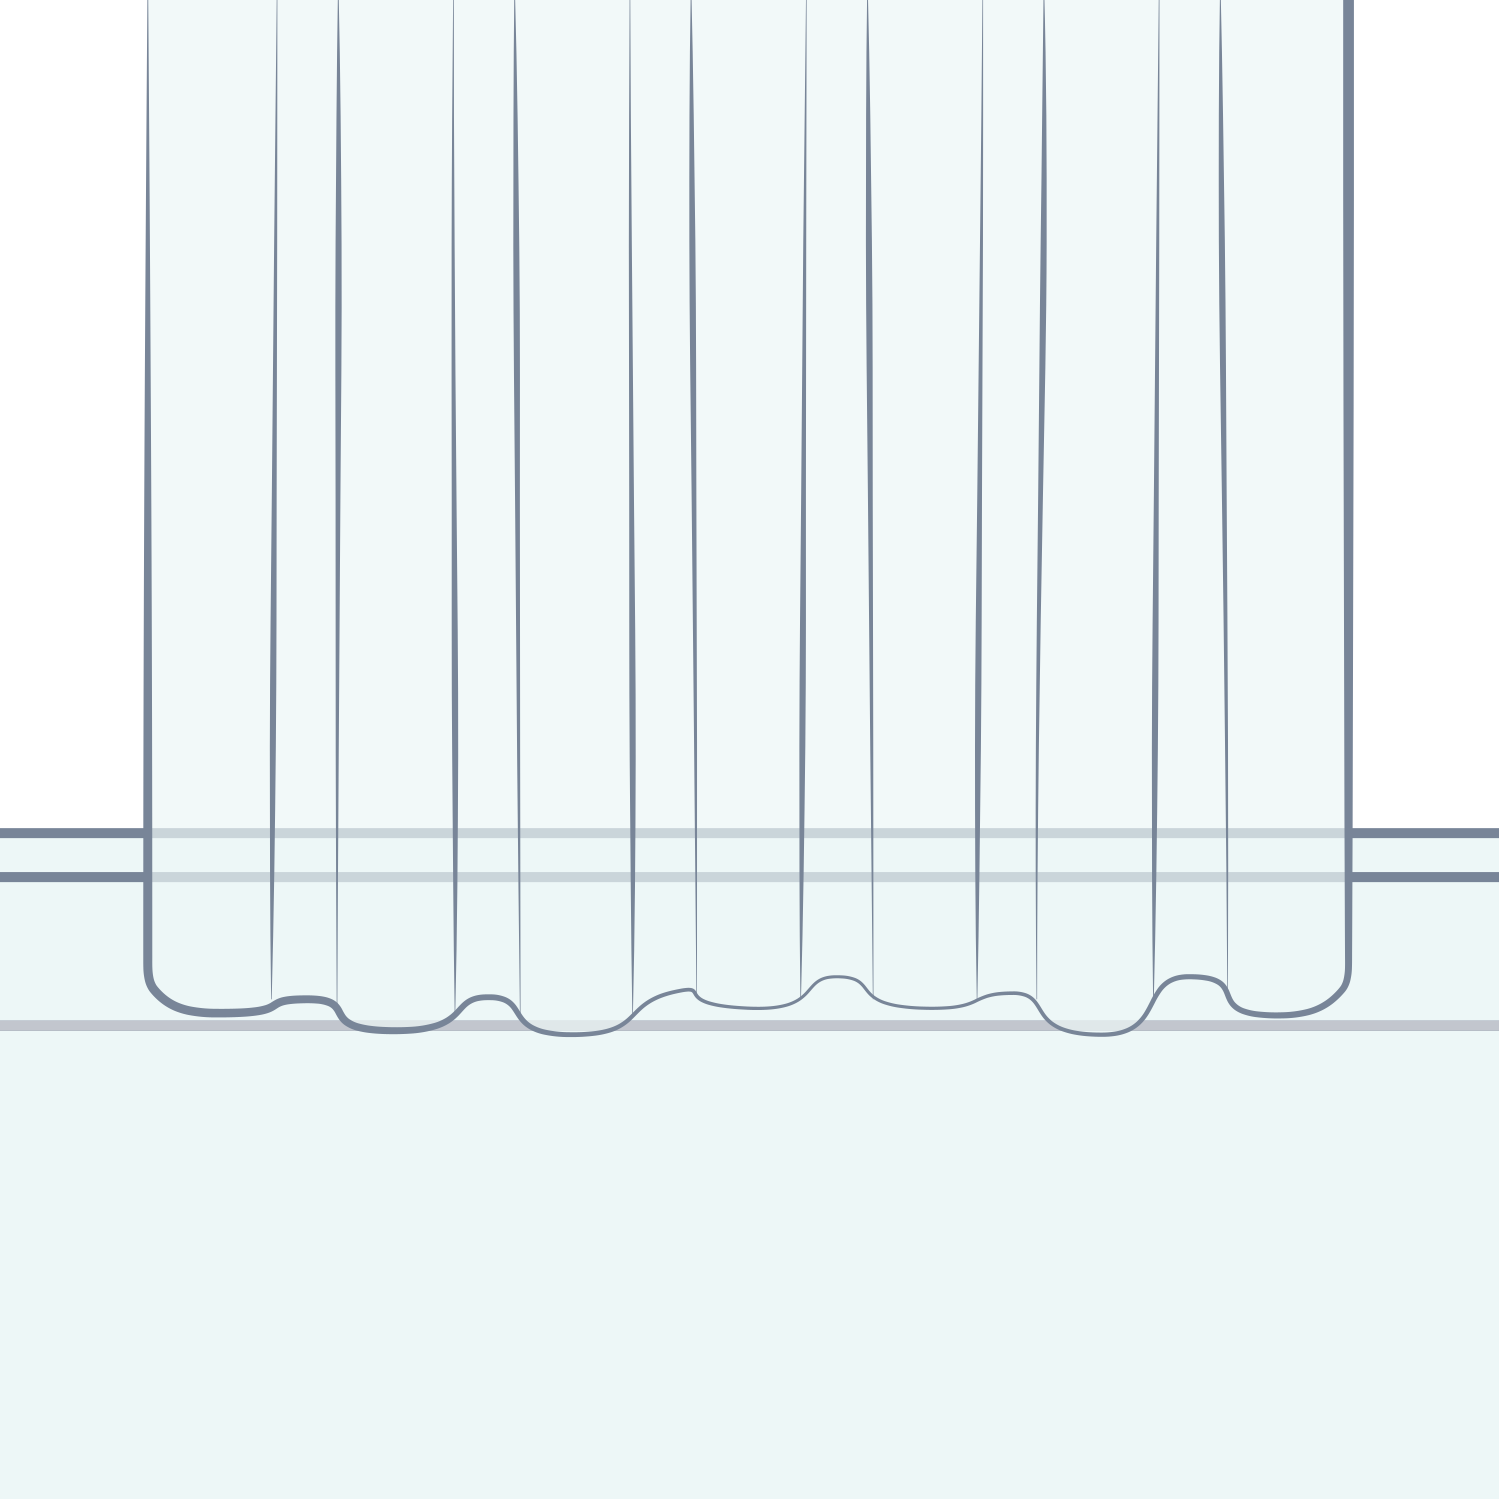
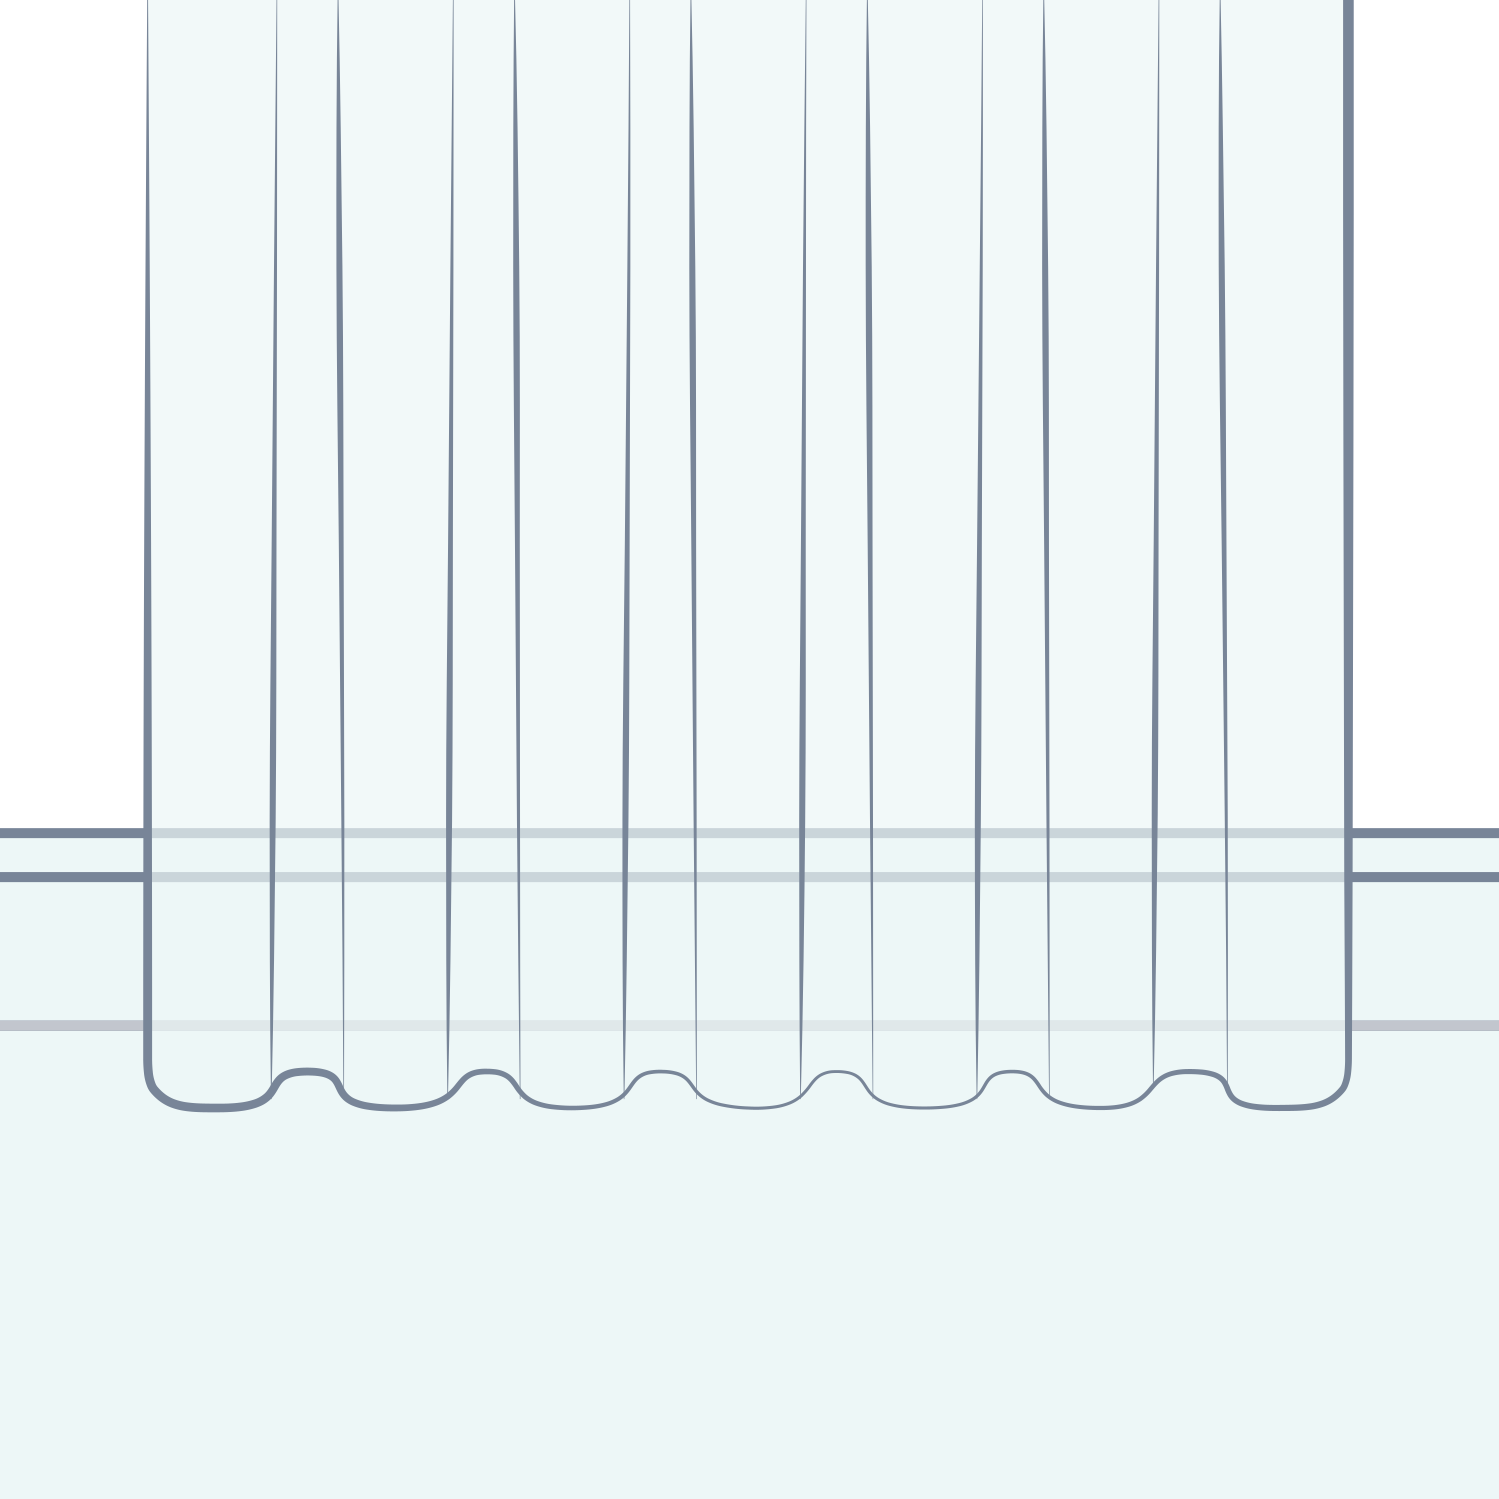
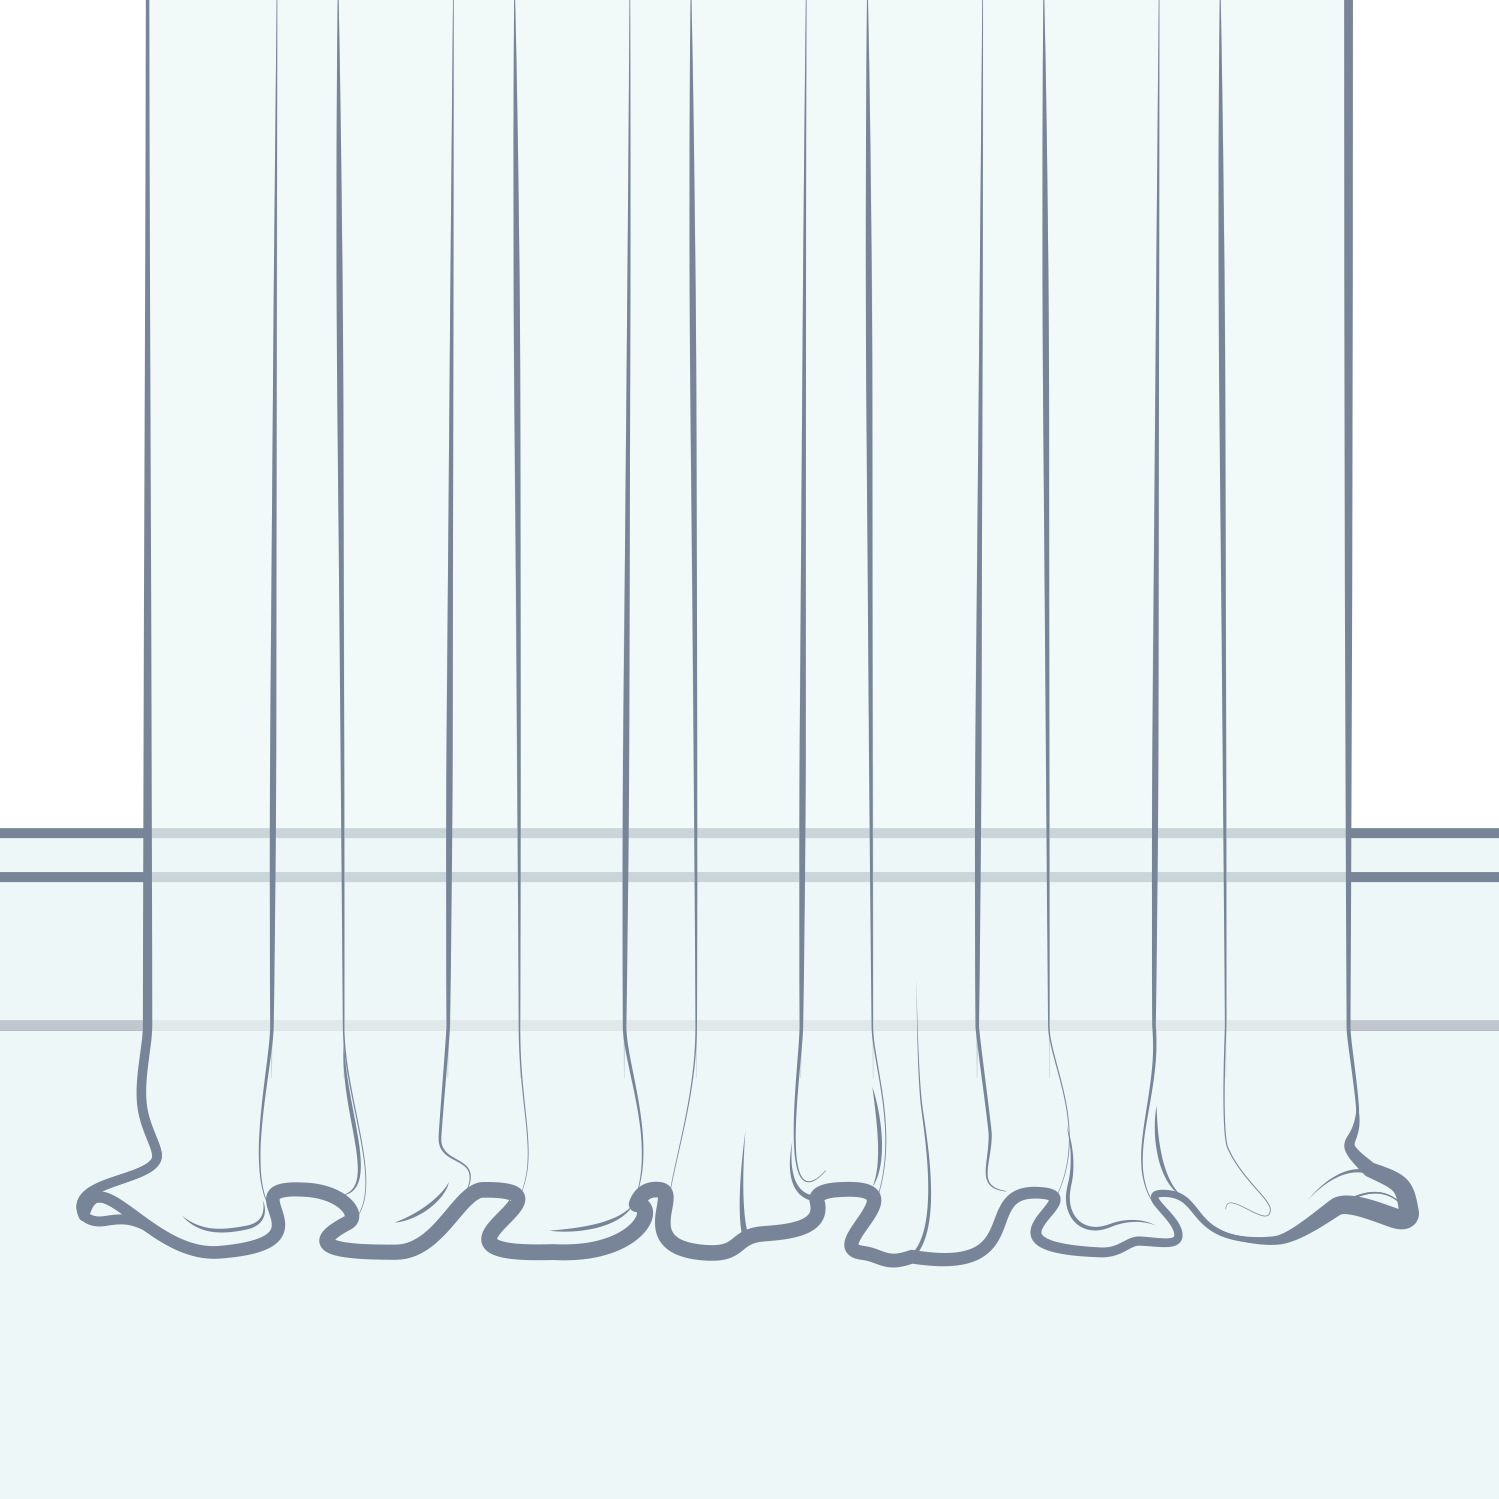
Choose just off the floor, touching the floor or puddling as the finish in the product options. Submit the measured drop without making your own finish or hem allowance; those selections determine the manufacturing adjustment. Check both sides of an uneven floor before choosing a close-fitting finish.
Ceiling fit · 5. Choose stacking and track flow
Choose left stack, right stack, centre opening or the available custom splits. Check access to doors and windows when the fabric is open. Fixed flow follows the selected stacking arrangement; free flow allows different positions. Motorised options must be compatible with the chosen opening and track flow.
Ceiling fit · 6. Check the order
Check track width, drop, mounting method, fabric, heading, finish and opening arrangement together. Select wall-to-wall only when measured between walls or cornices; the standard fit uses the specified track coverage. Do not add fabric fullness or make a second manufacturing deduction.
Wall fit · 1. Measure width
Decide whether the curtain will cover the wall or frame the window. For wall-to-wall coverage, measure between the walls at track height. To frame the window, measure its top width and allow around 30% extra overall for the stacks, checking the actual free wall space before recording the track width.
Wall fit · 2. Record optional split points
For a custom opening, measure from the left end of the track to each intended split. Record each position from that same left reference, rather than measuring the second split from the first. Mark whether the design has one, two or no splits and check the available operating options.
Wall fit · 3a. Mark the drop reference
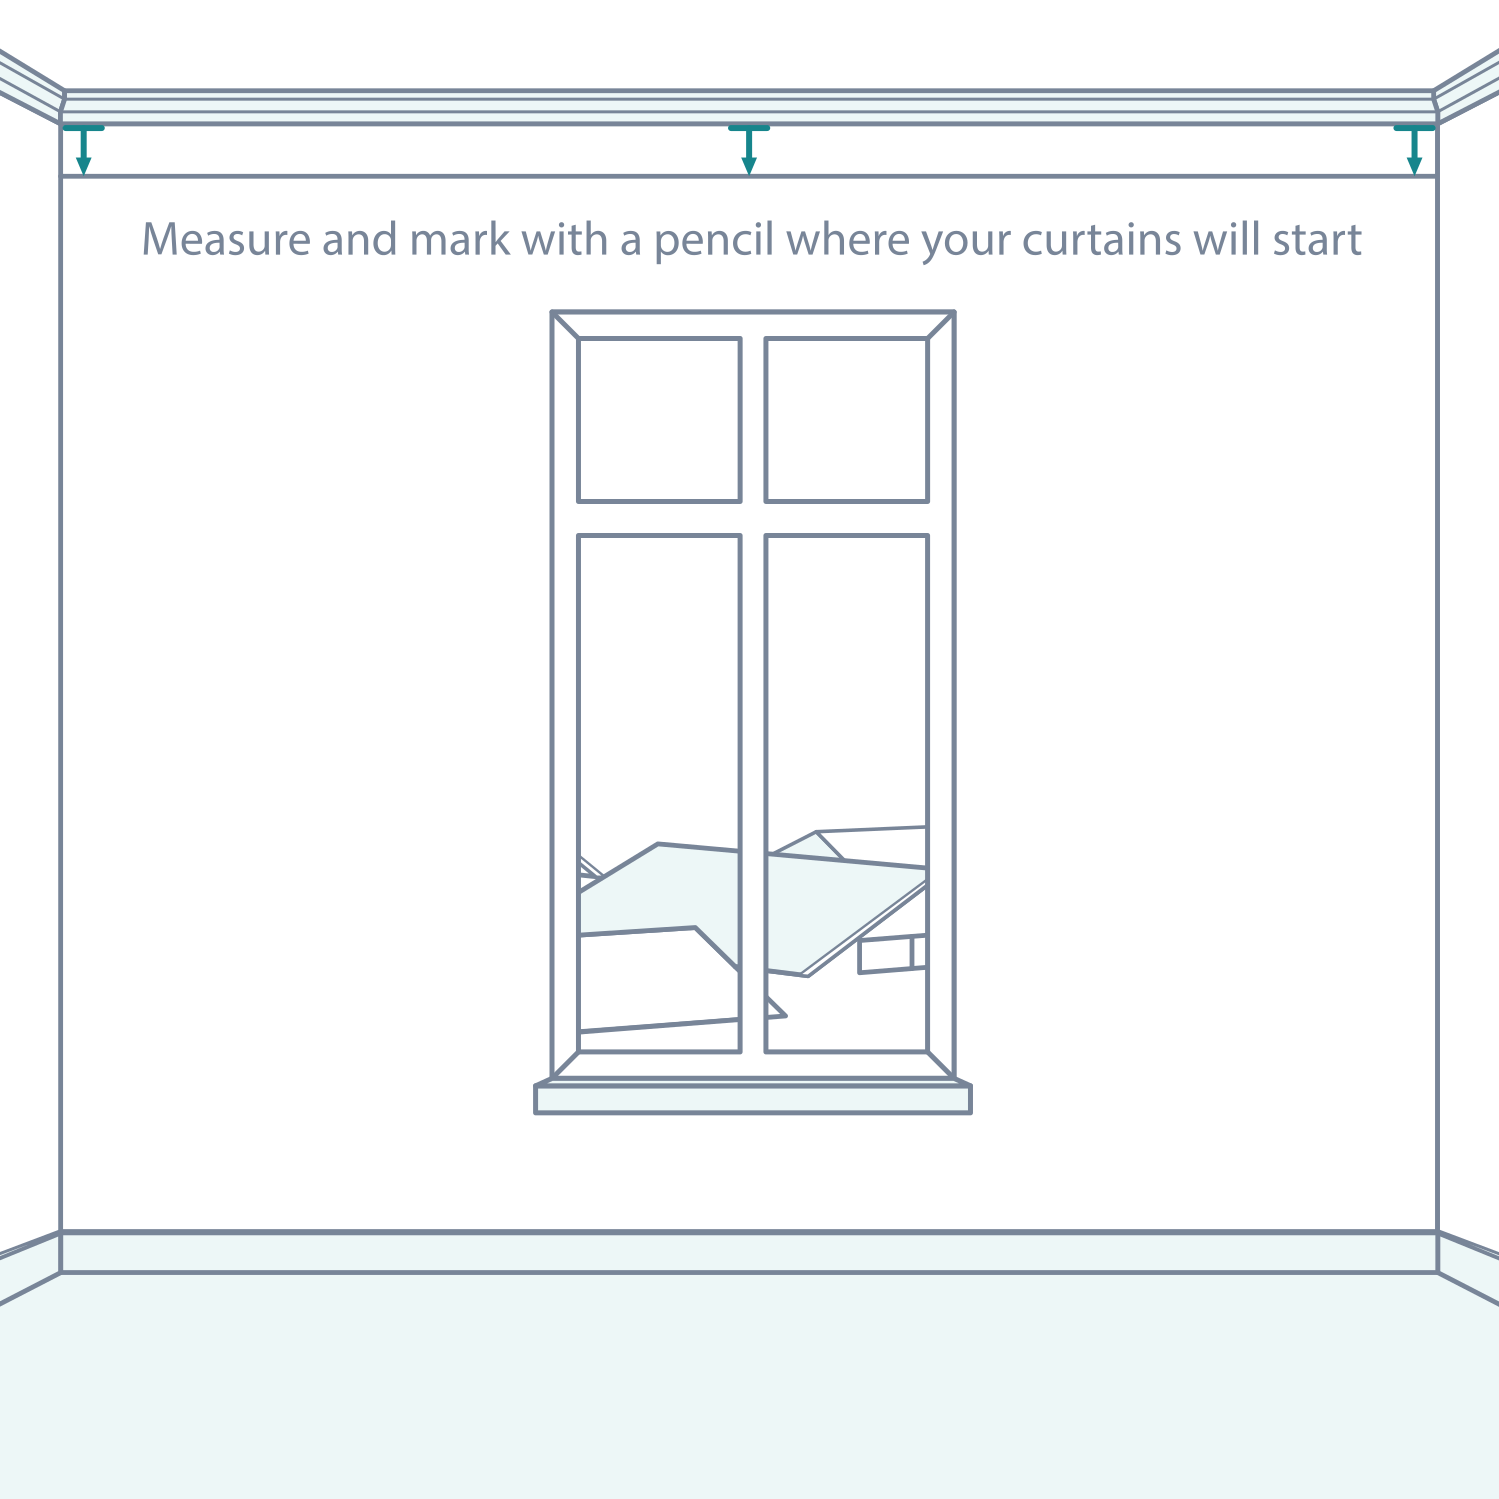
Mark a level horizontal line at the intended top of the track. Check its height across the window and its clearance below a cornice. Use that same track-top reference for every drop reading; do not start from different points along a sloping trim.
Wall fit · 3b. Measure drop
Measure from the marked top-of-track line to the floor at the left, centre and right. Keep the tape vertical and record the largest reading with the other measurements. Record uneven floors so the chosen finish can be assessed before manufacture.
Wall fit · 4. Choose the floor finish
Choose just off the floor, touching the floor or puddling as the finish in the product options. Submit the measured drop without making your own finish or hem allowance; those selections determine the manufacturing adjustment. Check both sides of an uneven floor before choosing a close-fitting finish.
Wall fit · 5. Choose stacking and track flow
Choose left stack, right stack, centre opening or the available custom splits. Check access to doors and windows when the fabric is open. Fixed flow follows the selected stacking arrangement; free flow allows different positions. Motorised options must be compatible with the chosen opening and track flow.
Wall fit · 6. Check the order
Check track width, drop, mounting method, fabric, heading, finish and opening arrangement together. Select wall-to-wall only when measured between walls or cornices; the standard fit uses the specified track coverage. Do not add fabric fullness or make a second manufacturing deduction.