What you need
Use a steel tape, pencil and a labelled worksheet. Use a stable stepladder when necessary and ask someone to hold the far end of the tape on wide openings. Record exact millimetres rather than estimating from an old curtain.
Before measuring
Choose ceiling or wall fit, check cornices and locate a suitable fixing surface. Consider window handles, doors, furniture and where the open curtain will stack. Plan power access for motorisation before finalising the track. Compare fabric samples in the room.
Choose ceiling or wall fit
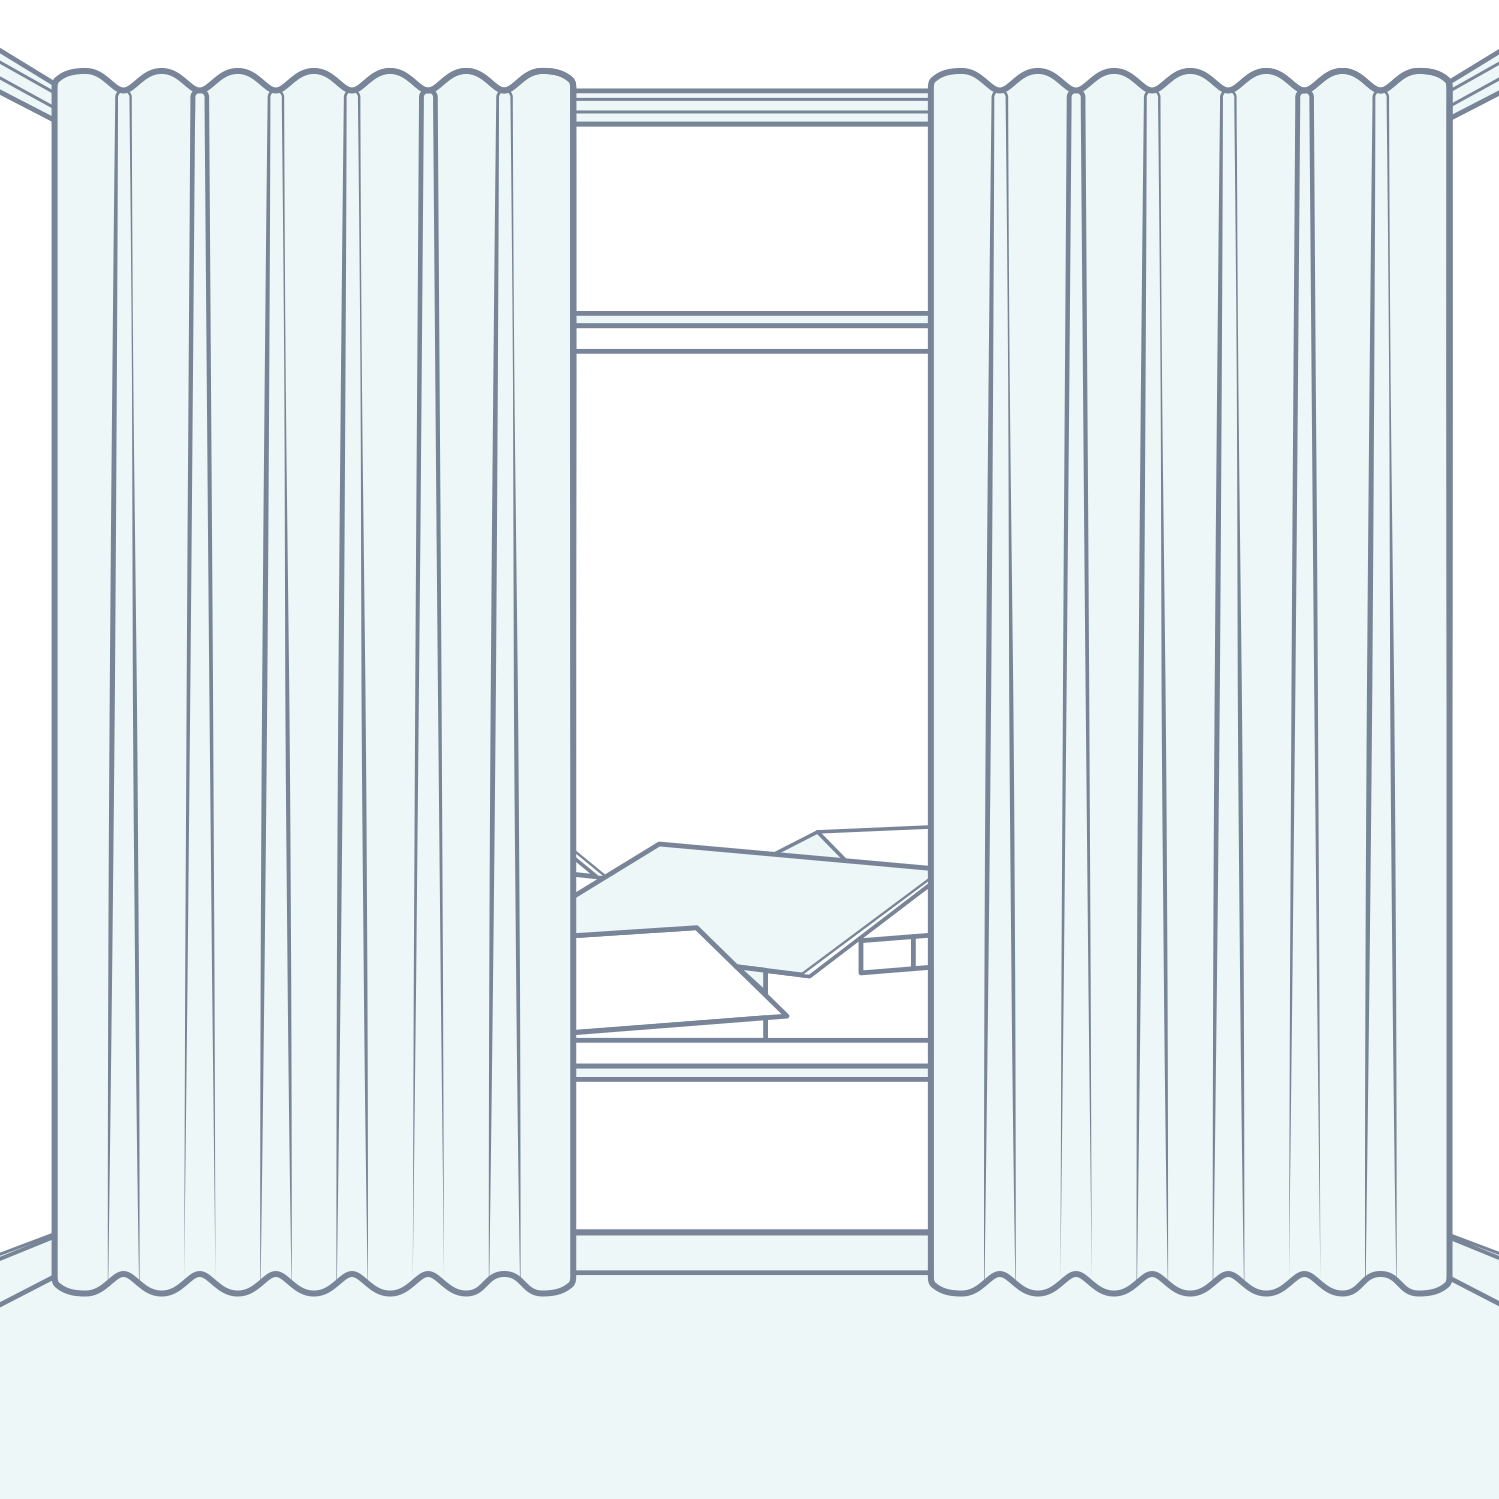
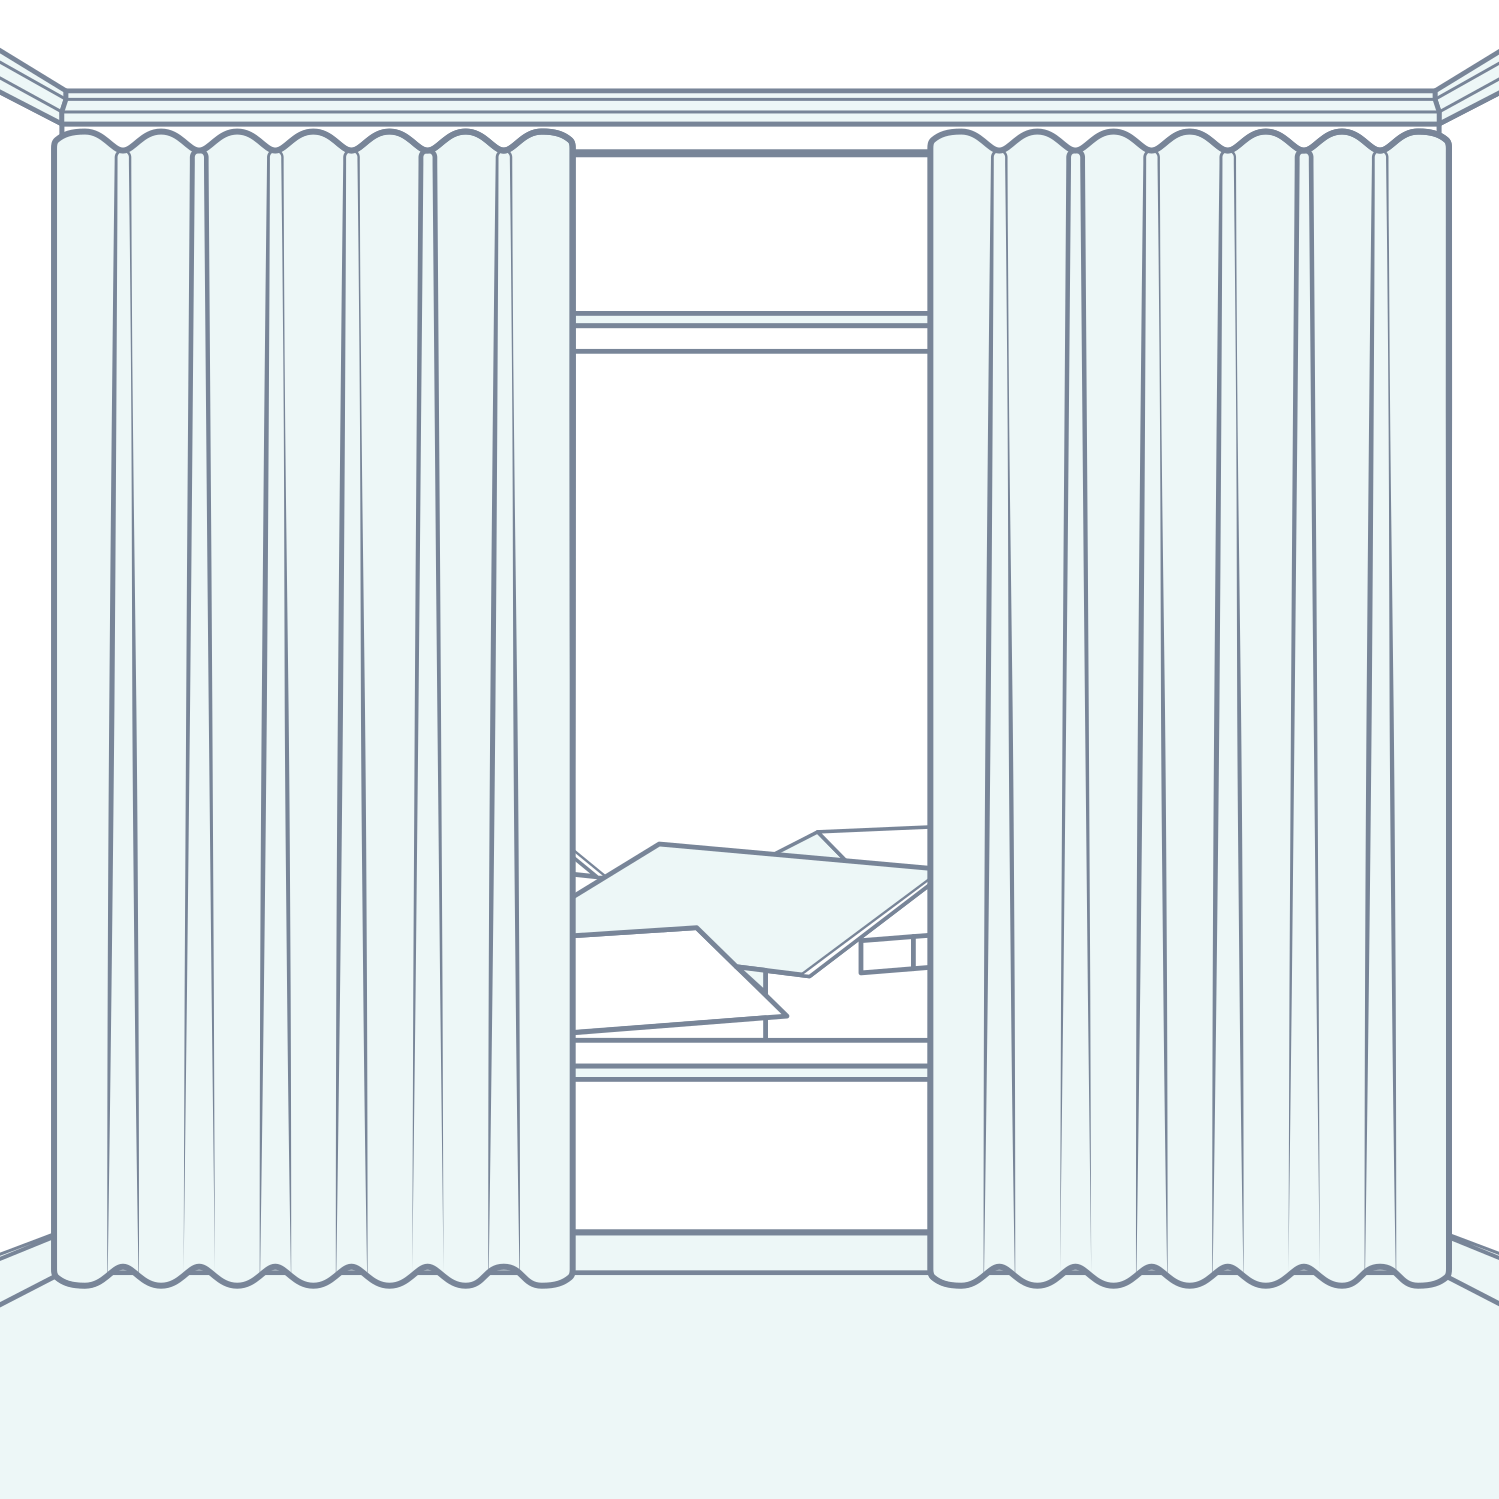
Ceiling fit follows the ceiling or the space within the cornice and can create a full-height finish. Wall fit uses brackets on the wall above the opening. Either needs secure fixings and enough projection for the fabric folds to move freely.
Confirm the track and corner arrangement
Not every track can follow every corner or curve. Send a front photo and a plan-view sketch showing the window segments, corners and planned track path. Confirm the available system and measuring references with My Direct before treating the sketch as a manufacturing order.
Ceiling fit · 1. Check each corner
Check each angle independently with an angle finder or an accurate template. Label the segments from left to right as viewed from the room. A corner that looks square may not be exactly 90 degrees; keep the measured angle with the sketch.
Ceiling fit · 2. Measure a single corner
For a one-corner arrangement, record the two straight runs and mark the bend position on the plan. Identify the reference used for the measurement and confirm the bend allowance for the selected track before ordering.
Ceiling fit · 3. Measure two corners
For a two-corner arrangement, label the left, centre and right runs. Record both angles and the meeting points using the same agreed reference. Keep the raw readings on the sketch; do not apply an assumed bend-radius deduction.
Ceiling fit · 4. Record optional splits
For a custom opening, measure from the left end of the track to each intended split. Record each position from that same left reference, rather than measuring the second split from the first. Mark whether the design has one, two or no splits and check the available operating options.
Ceiling fit · 5. Measure each drop
Measure vertically from the planned ceiling fixing surface to the floor at the left, centre and right. Record all three and use the largest reading for the published My Direct curtain method. If the readings differ by more than 10 mm, consider a puddled finish and check the appearance before ordering.
Ceiling fit · 6. Choose the floor finish
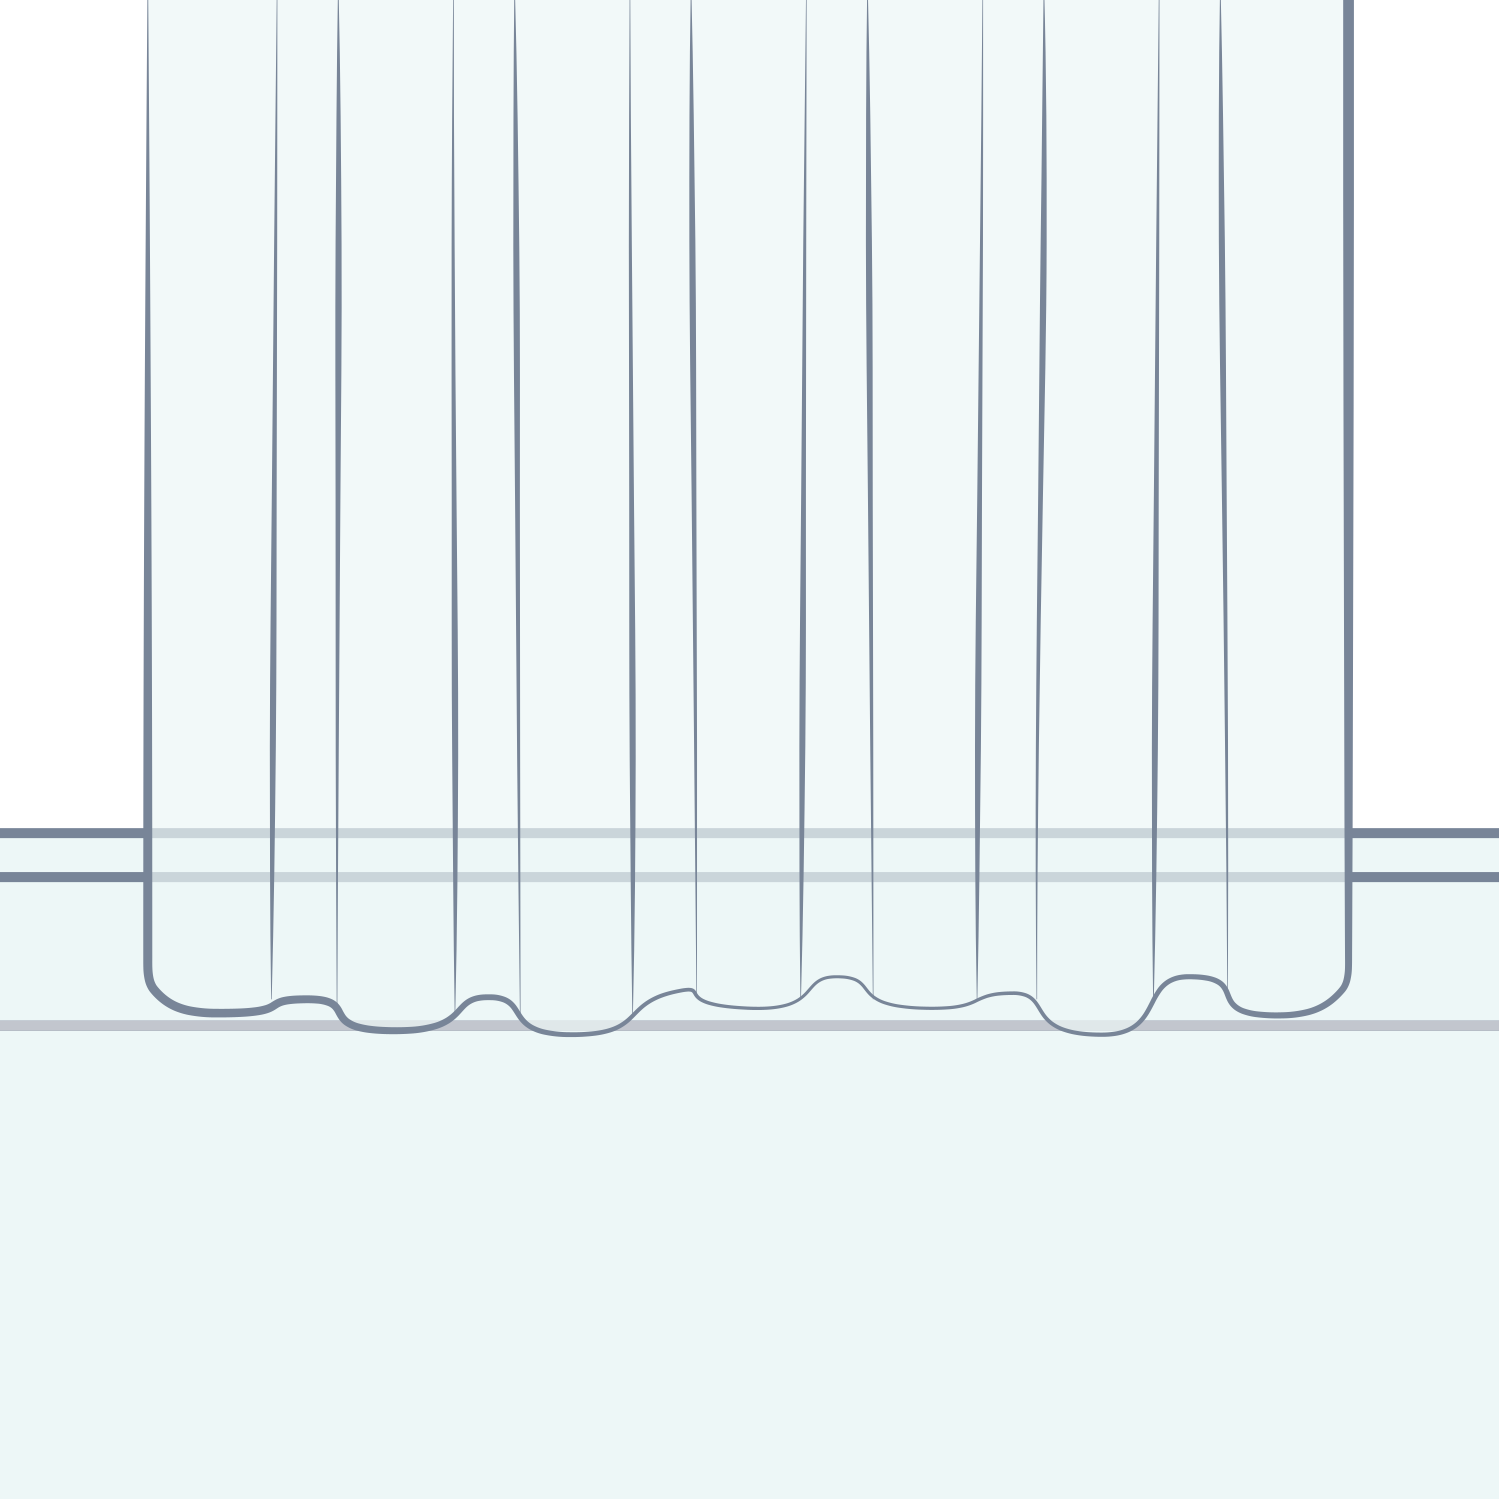
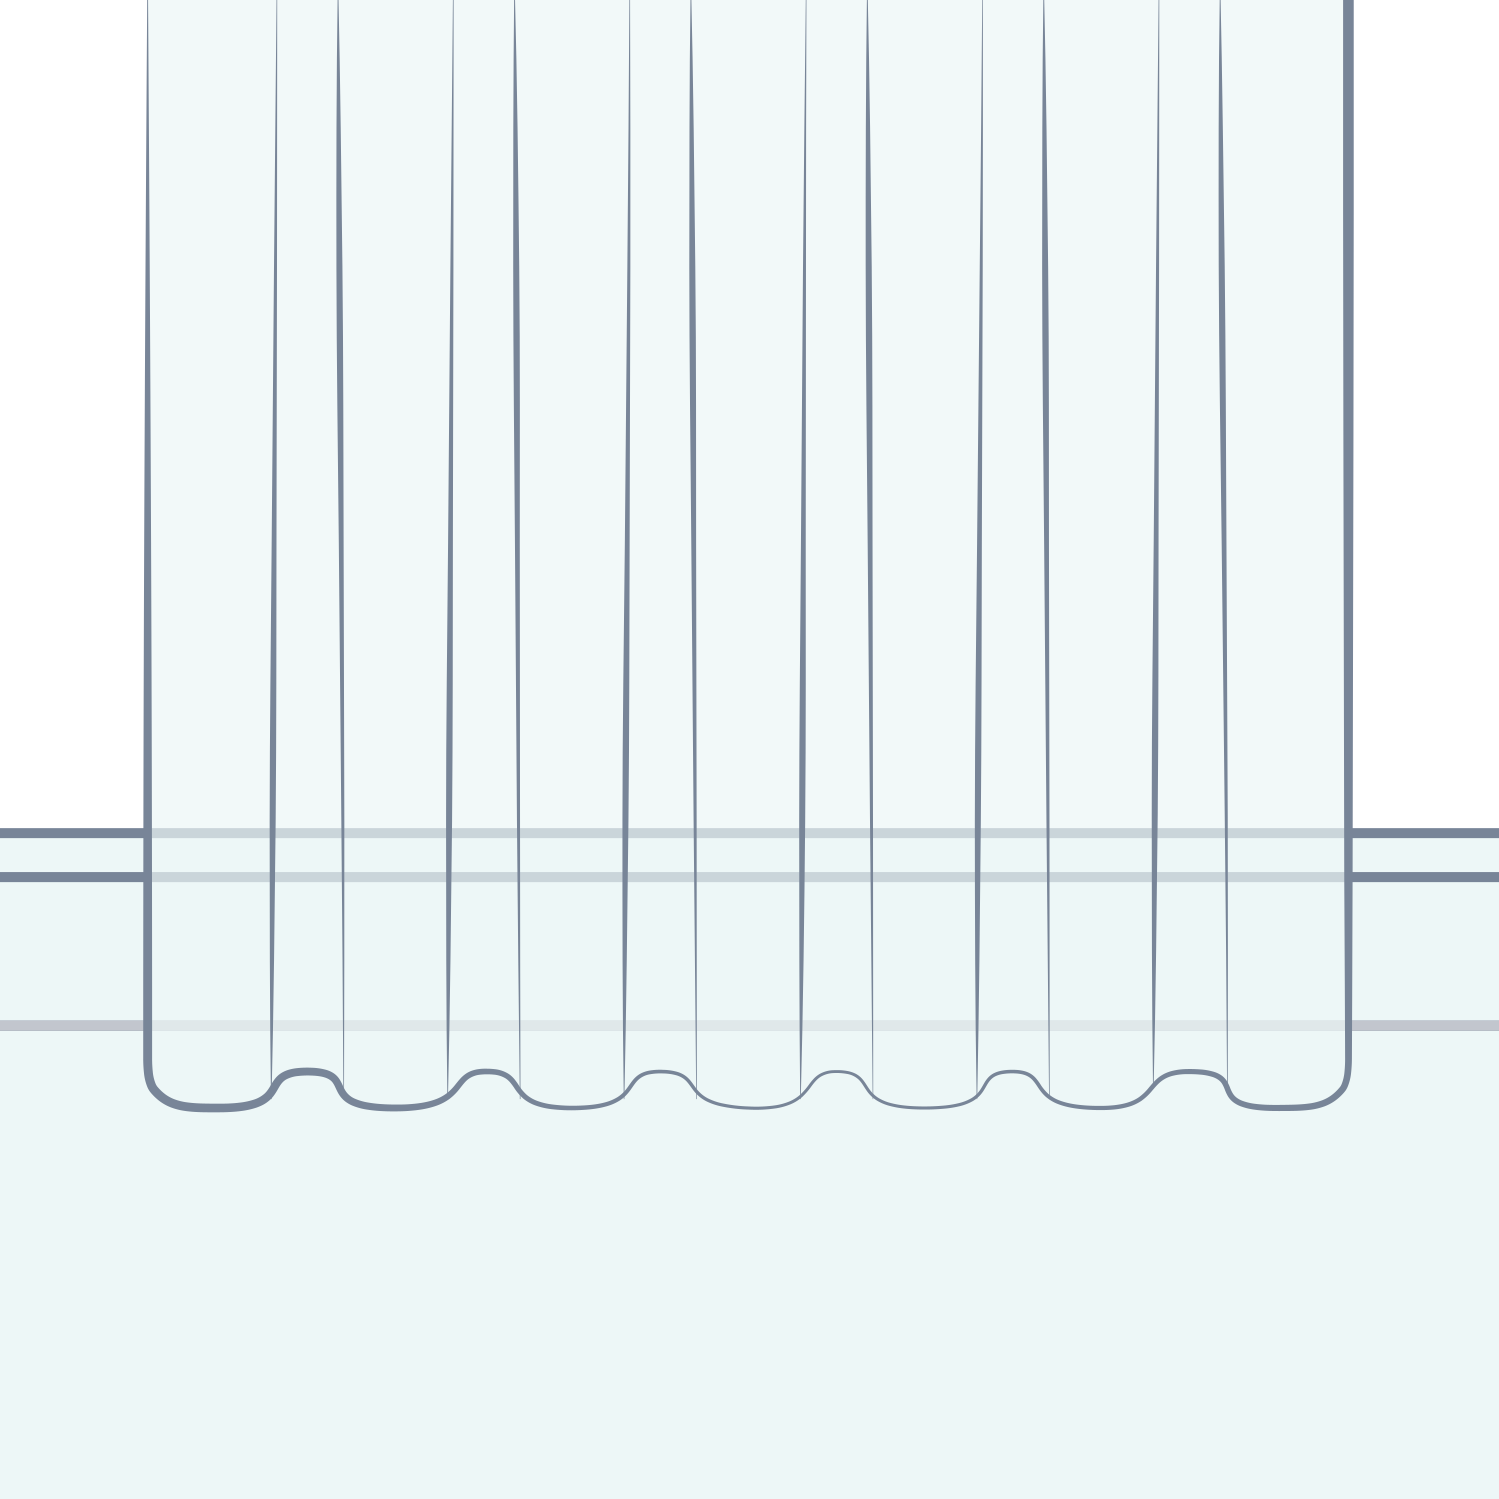
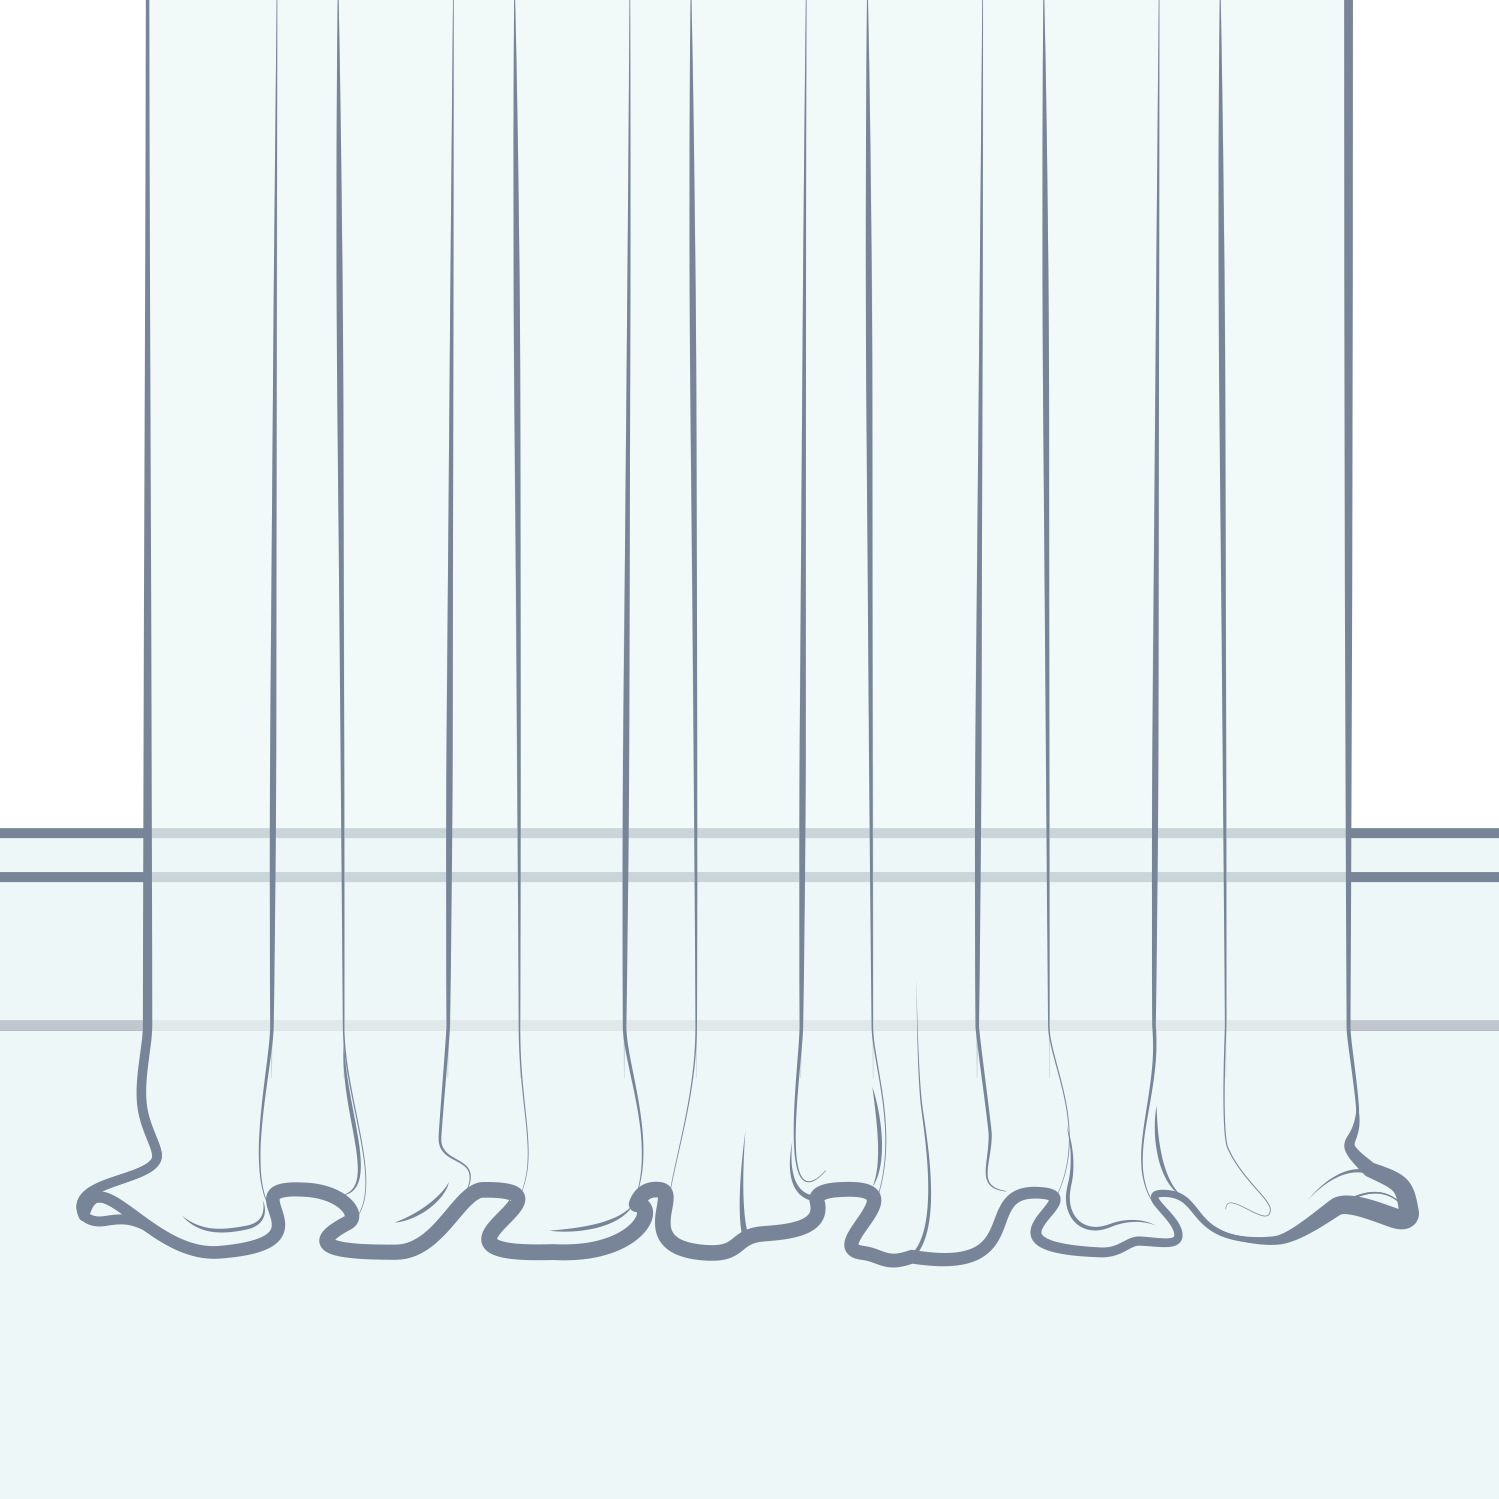
Choose just off the floor, touching the floor or puddling as the finish in the product options. Submit the measured drop without making your own finish or hem allowance; those selections determine the manufacturing adjustment. Check both sides of an uneven floor before choosing a close-fitting finish.
Ceiling fit · 7. Choose stacking and track flow
Choose left stack, right stack, centre opening or the available custom splits. Check access to doors and windows when the fabric is open. Fixed flow follows the selected stacking arrangement; free flow allows different positions. Motorised options must be compatible with the chosen opening and track flow.
Ceiling fit · 8. Confirm the drawing and order
Compare the labelled sketch with the final track drawing, including every run, bend, split and drop. Resolve any unclear reference or allowance with the team before approving manufacture. Keep the approved drawing and measurements with your order.
Wall fit · 1. Check each corner
Check each angle independently with an angle finder or an accurate template. Label the segments from left to right as viewed from the room. A corner that looks square may not be exactly 90 degrees; keep the measured angle with the sketch.
Wall fit · 2. Measure a single corner
For a one-corner arrangement, record the two straight runs and mark the bend position on the plan. Identify the reference used for the measurement and confirm the bend allowance for the selected track before ordering.
Wall fit · 3. Measure two corners
For a two-corner arrangement, label the left, centre and right runs. Record both angles and the meeting points using the same agreed reference. Keep the raw readings on the sketch; do not apply an assumed bend-radius deduction.
Wall fit · 4. Record optional splits
For a custom opening, measure from the left end of the track to each intended split. Record each position from that same left reference, rather than measuring the second split from the first. Mark whether the design has one, two or no splits and check the available operating options.
Wall fit · 5. Mark the drop reference
Mark a level horizontal line at the intended top of the track. Check its height across the window and its clearance below a cornice. Use that same track-top reference for every drop reading; do not start from different points along a sloping trim.
Wall fit · 6. Measure each drop
Measure from the marked top-of-track line to the floor at the left, centre and right. Keep the tape vertical and record the largest reading with the other measurements. Record uneven floors so the chosen finish can be assessed before manufacture.
Wall fit · 7. Choose the floor finish
Choose just off the floor, touching the floor or puddling as the finish in the product options. Submit the measured drop without making your own finish or hem allowance; those selections determine the manufacturing adjustment. Check both sides of an uneven floor before choosing a close-fitting finish.
Wall fit · 8. Choose stacking and track flow
Choose left stack, right stack, centre opening or the available custom splits. Check access to doors and windows when the fabric is open. Fixed flow follows the selected stacking arrangement; free flow allows different positions. Motorised options must be compatible with the chosen opening and track flow.
Wall fit · 9. Confirm the drawing and order
Compare the labelled sketch with the final track drawing, including every run, bend, split and drop. Resolve any unclear reference or allowance with the team before approving manufacture. Keep the approved drawing and measurements with your order.