
Choose your fit
Choose your mounting type
Recess fit (inside the frame)
A recess fit places the headbox and channels inside the window opening.
- Needs at least 50 mm from the nearest obstruction to the front of the opening
- Can leave a small overall gap: see step 3
Face fit (on the architraves)
A face fit places the system on the architraveThe timber trim fixed around a window frame..
- Follows the regular face-fit roller method
- Decorative mouldings must not prevent the headbox and side channels sitting flush
- The simpler alternative if recess gaps are a concern
Face fit (no architraves)
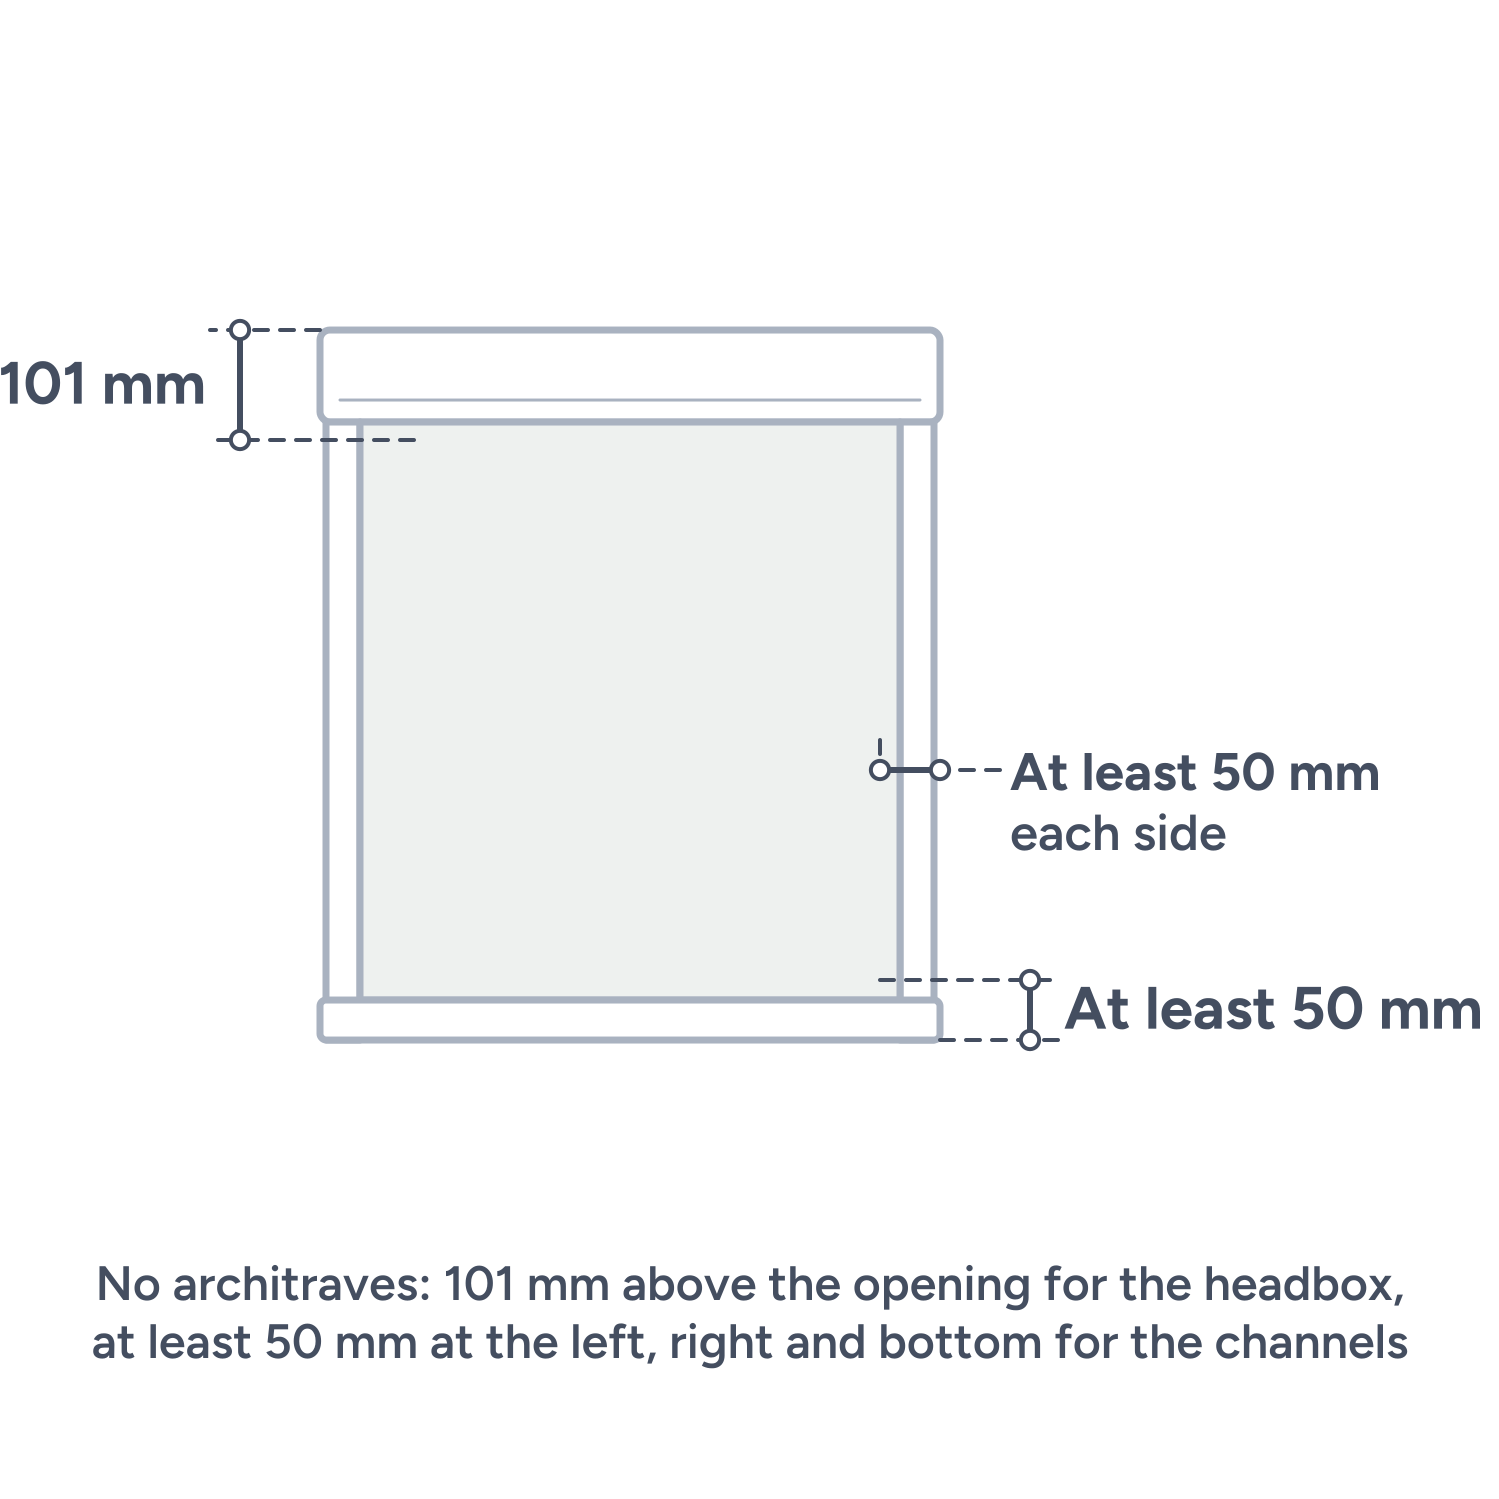
On a square-setA window with no architraves: the plaster or wall lining finishes square at the edge of the opening. window (no architraves), the system sits on the wall around the opening.
- Needs 101 mm above the opening for the headbox
- Needs at least 50 mm at the left, right and bottom for the channels
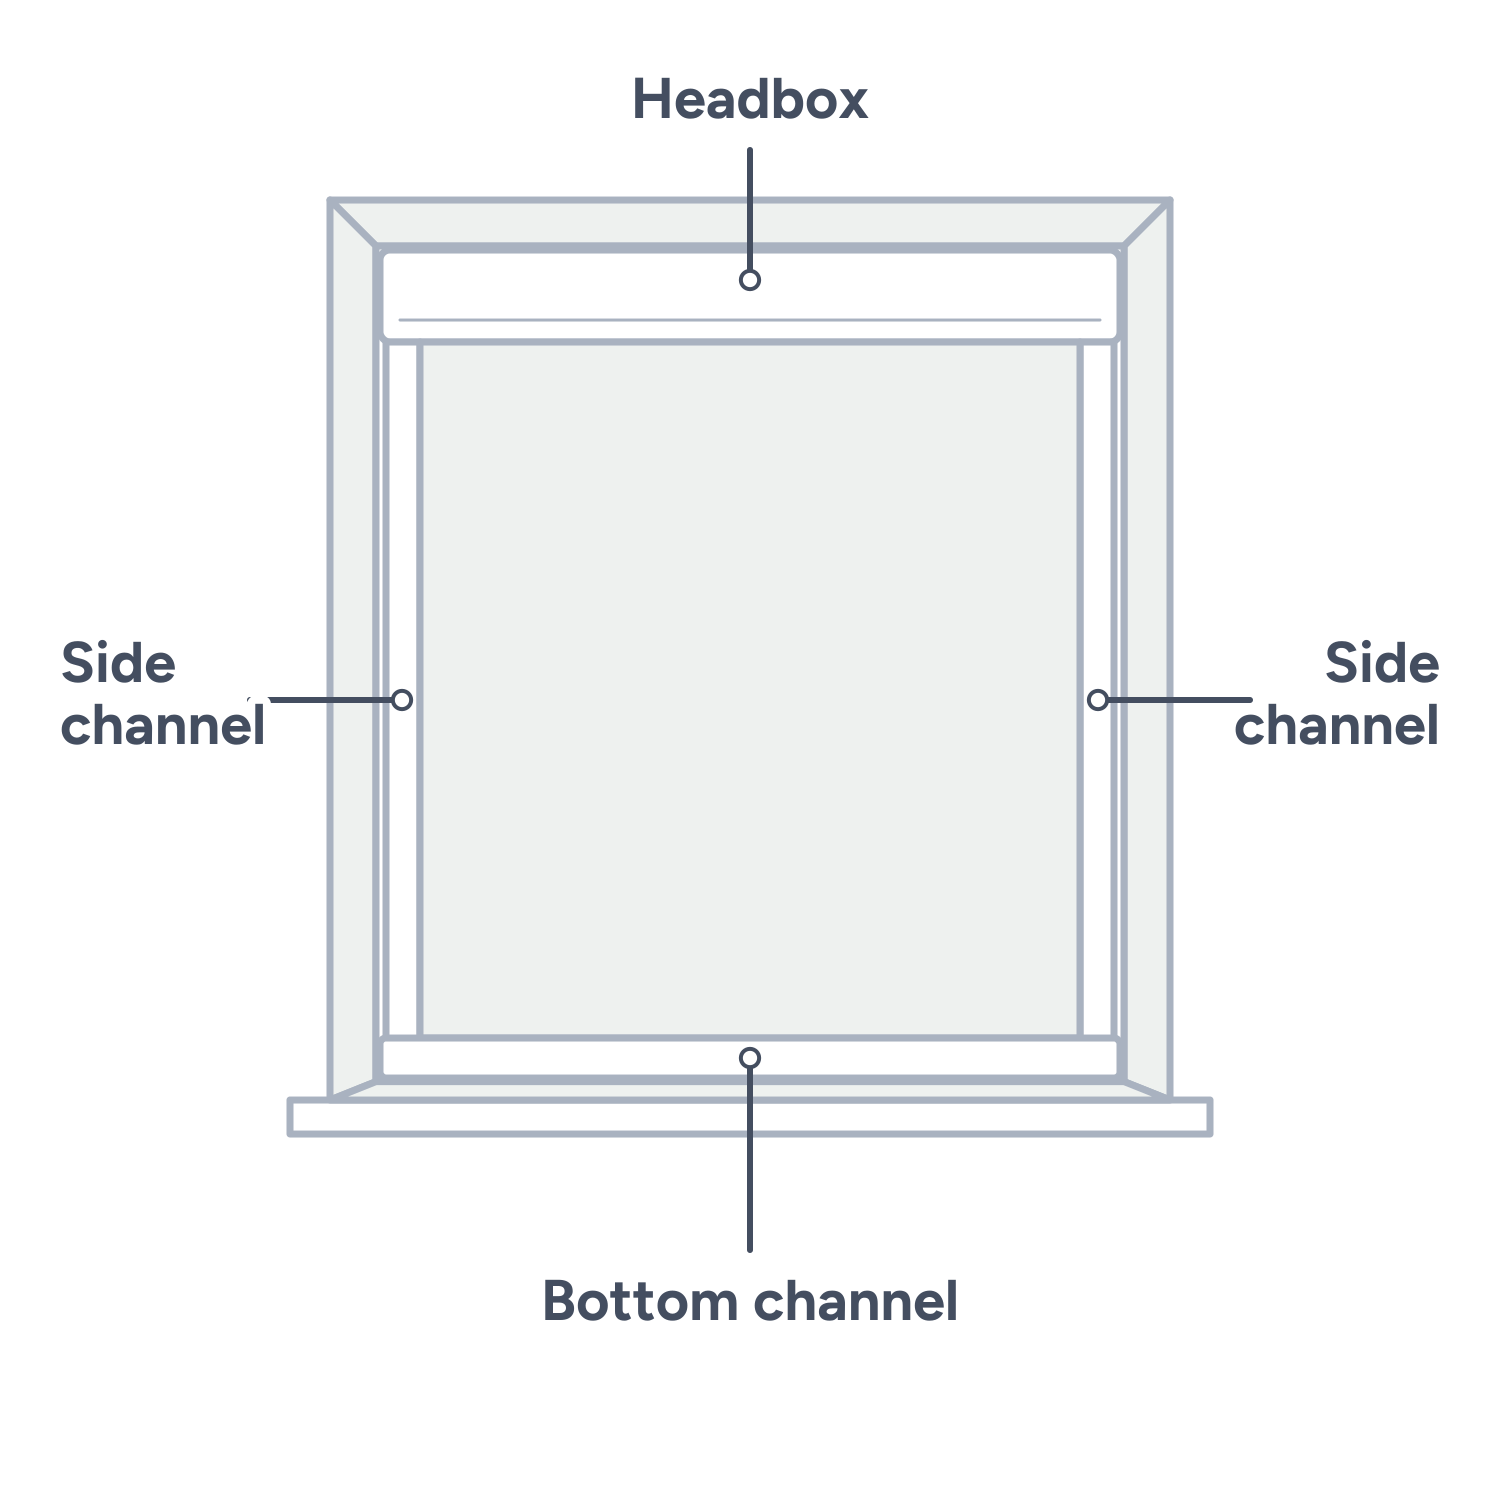
Measure step by step
Take every measurement in millimetres (mm).
Check the mounting type before you measure
Recess fit (inside the frame)
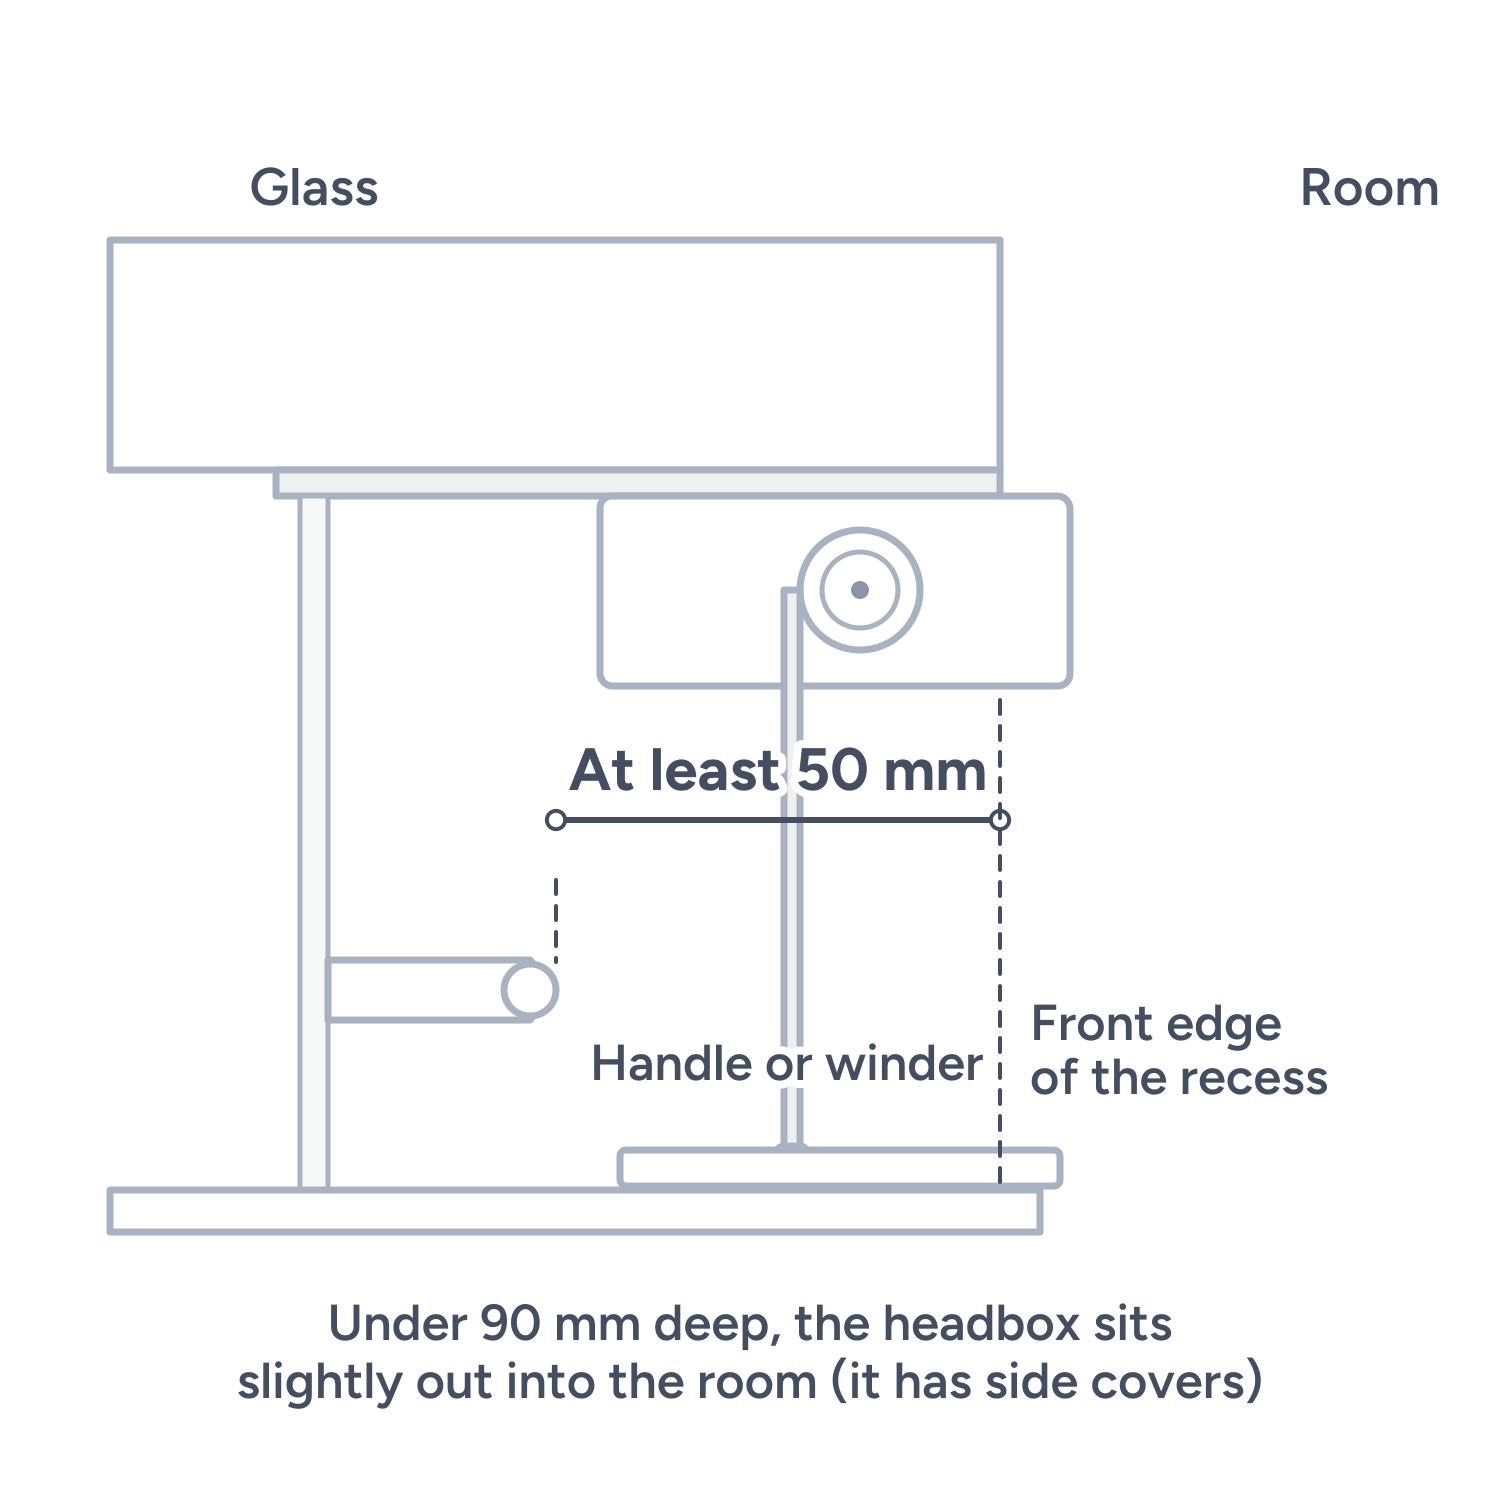
Step 1: Check the depth
Allow at least 50 mm from the nearest obstruction to the front of the opening.
Below 90 mm depth, the headbox will project slightly into the room; it has side covers.
Not enough room? instead.
Step 2: Measure the width and height
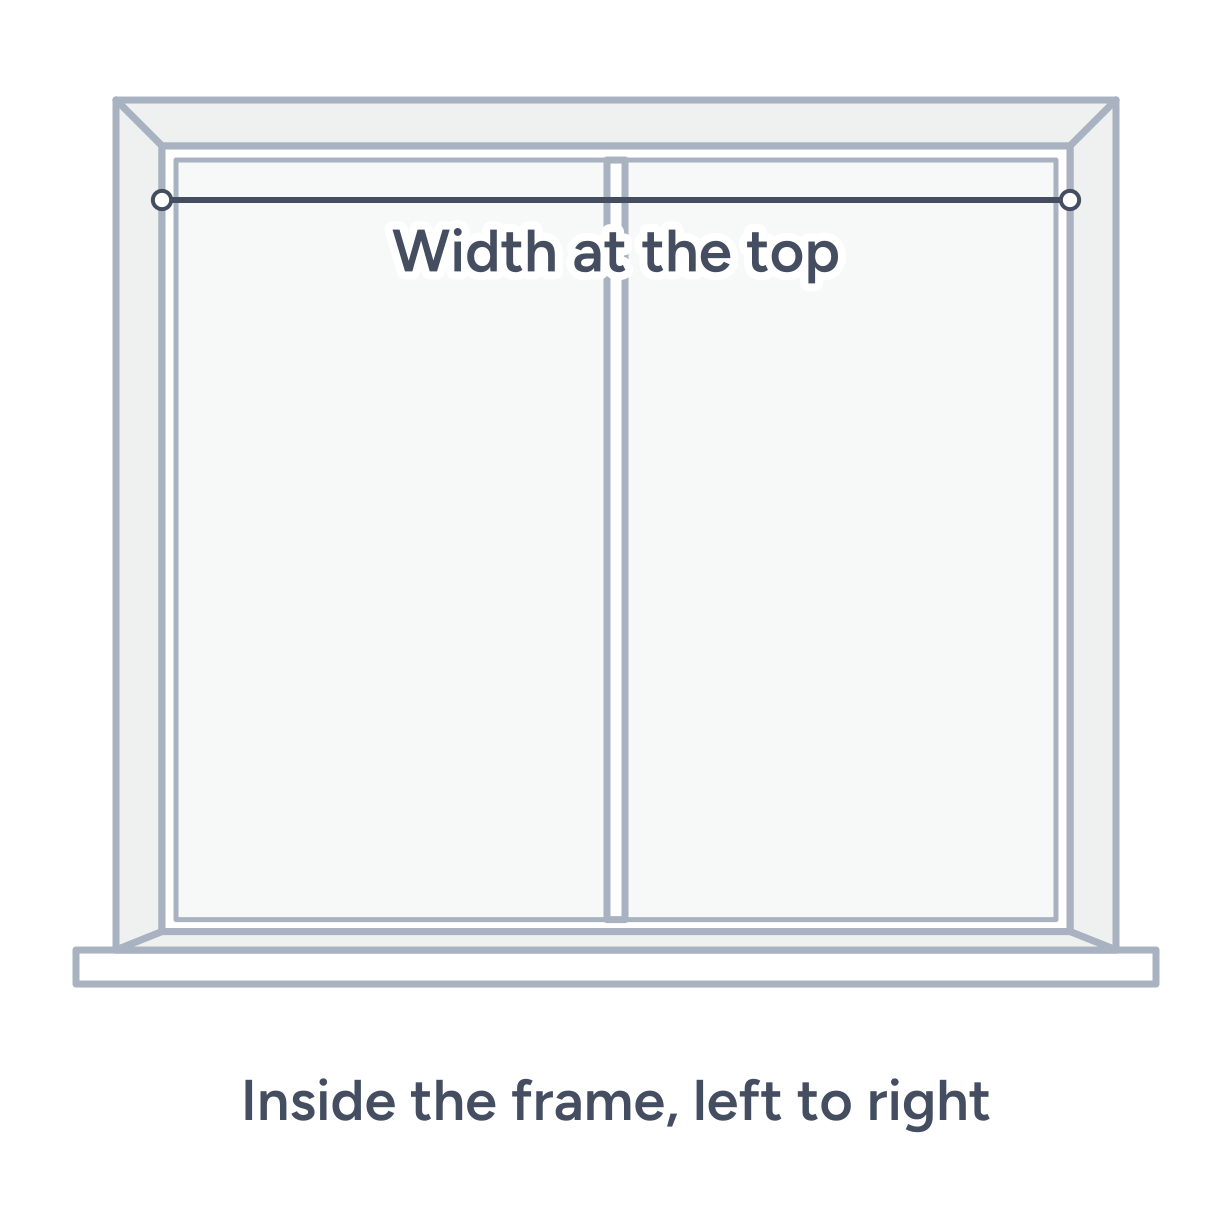
Measure the width at the very top, middle and very bottom of the opening; use the smallest. Measure the height at the far left, centre and far right; use the smallest.
Give those same measurements for both the cassette and the roller blind.
Do not deduct again.
Step 3: Understand the recess gap
A recess system may leave an overall width or height gap of about 2 mm or more. Squareness can increase it. Full blackout may require no-gap silicone, or a small timber quadA small quarter-round timber strip, fixed in the corner behind a channel. behind the channels.
Top-and-side-only systems are somewhat easier to install. Face fixing is the simpler alternative if this is a concern.
Face fit (on the architraves)
Step 1: Measure as a face-fit roller blind
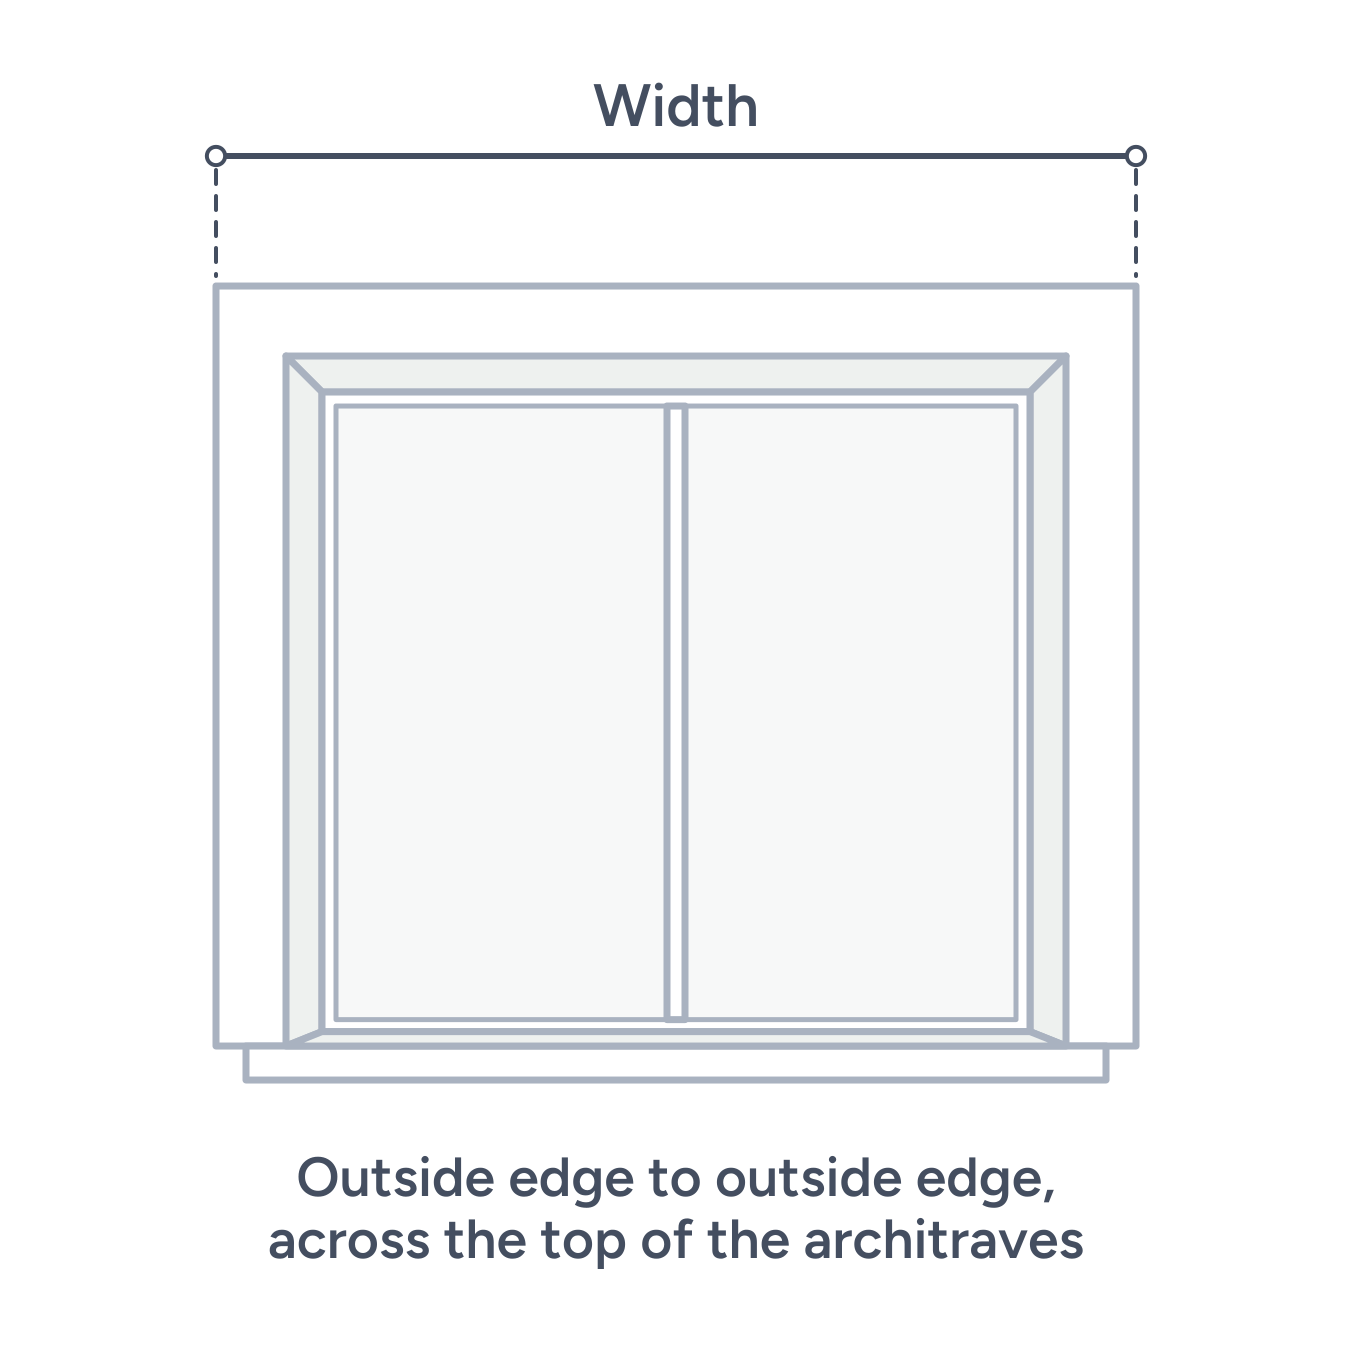
With a timber architrave, follow the regular face-fit roller method: measure across the outside edges of the architraves at the top, then the drop from the top of the architrave. See the roller blind measuring guide.
Decorative mouldings must not prevent the headbox and side channels sitting flush.
Step 2: Check the bottom sill
Check that a projecting bottom sill will not interfere with the channels.
Face fit (no architraves)
Step 1: Allow room around the opening
For square-set windows without architraves, add 101 mm above the opening for the headbox, and at least 50 mm at the left, right and bottom for the channels.
Step 2: Top-and-side-only channels
For top-and-side-only channels, extend the blind further below the opening for light blockage. Confirm the additional drop for your opening with us before ordering.
Step 3: Check the wall and sill
Check that the available wall area and the bottom sill permit the planned system.